
I’m cosplaying the Cheshire Cat at a ball this weekend. So I’m making myself a pair of cat ears! I won’t call this a tutorial – I’ve tried to do tutorials over the years, and I think I might not be organized enough to force my brain to think of things in steps! Lol so we’ll call this a “the making of” type post. With a bit of artistic skill, you probably can glean how to make yourself some fairly amazing animal ears for cosplay. But it won’t exactly be a step by step how-to, either!
Materials:

To make your own cat ears, you’ll need the following:
- Backing fabric. I used leftovers from my cheshire cat gown. Silver tiger print fabric!
- Inner ear fabric. Something fuzzy for the best look!
- Sticky-back craft foam. I bought this stuff for crafts for my kids originally, then had to buy them more because I had commandered most of the package! It’s awesome for crafts.
- Elastic. I used 1/8 inch sewing elastic.
- Something to cut fabric with. A rotary cutter and mat is easiest for these kinds of projects.
- Regular paper scissors.
- And a glue gun and plenty of hot glue.
First, I google image searched “cat ears” to come up with an idea of what I wanted them to look like. I wanted something a bit large, but also lifelike in shape.
While looking at google images, I sketched this as a basic plan for myself:
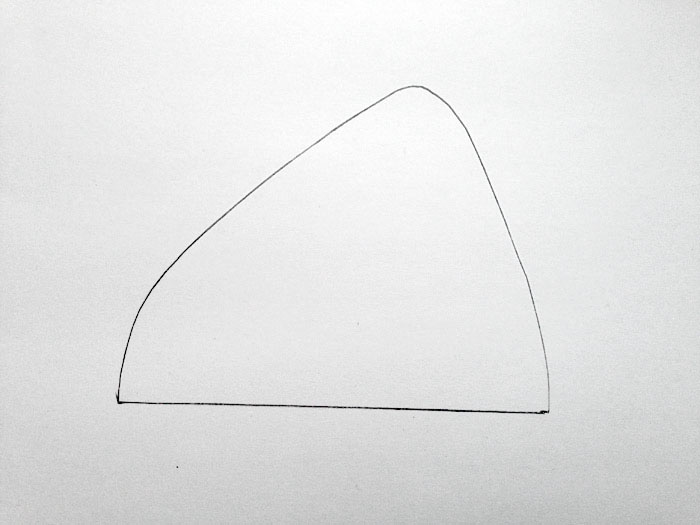
I cut out the shape, then traced it onto the craft foam, lining up the bottom of the ear with the edge of the craft foam. I flipped the pattern over to trace it the second time, so I would have mirror-image shaped ears. Then I drew the outer lines in the picture, about a half inch from around the sides of the ears.
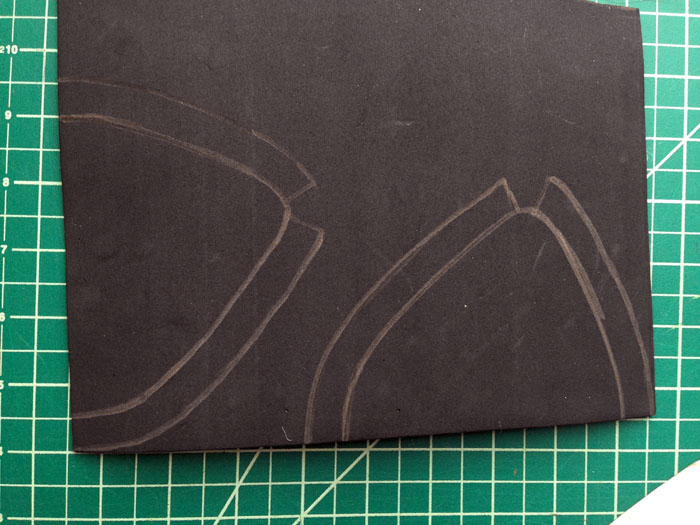
I cut them out:

Then with the glue gun, beaded glue along the inside of the inner line (where the edges of the ears will be) like this:
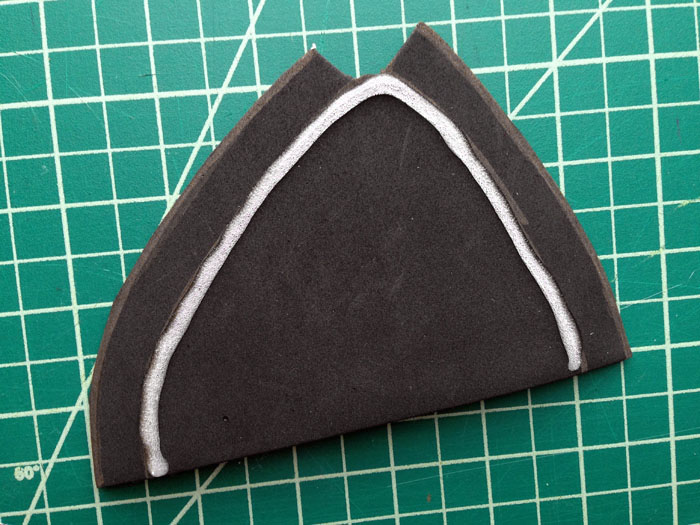
The next step was to let the glue dry – all the way – and so I didn’t get impatient and touch it too soon, I cut the fabric pieces next. I cut the fabric for the outside big – so I can wrap it around the ears and have nice edges. I gave it an extra inch around the top and sides, and an extra 1/4 inch at the bottom.

For the inner ear fabric, I reduced the size of the pattern, by 1/4 inch around the top and sides, like so:
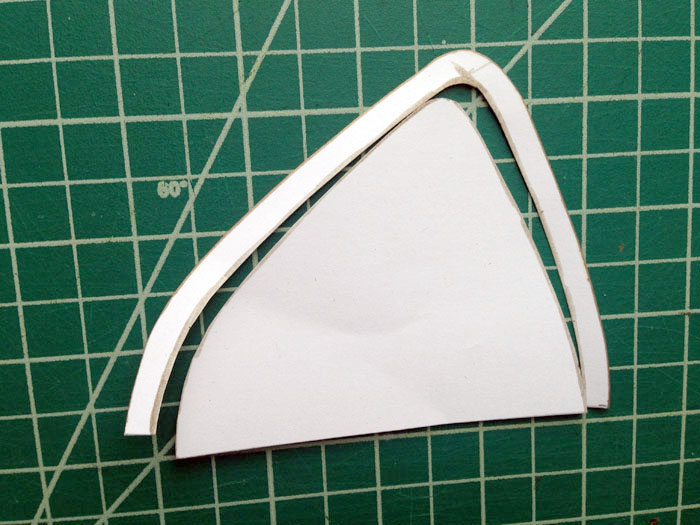
And cut the two inner ear pieces (OMG softy soft):

Remember to flip the pattern so you cut mirror-image pieces!
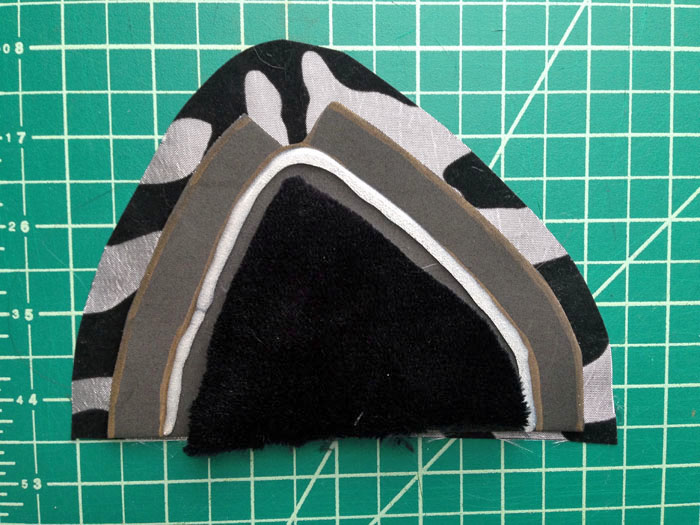
Here is a pic showing all of the pieces laid on top of eachother – all different sizes, so they go together right!
The glue on the craft foam had hardened sufficiently by this point. I added more glue on top of the old glue, and rolled the foam around my glue line, to make a nice rounded edge for my ears.
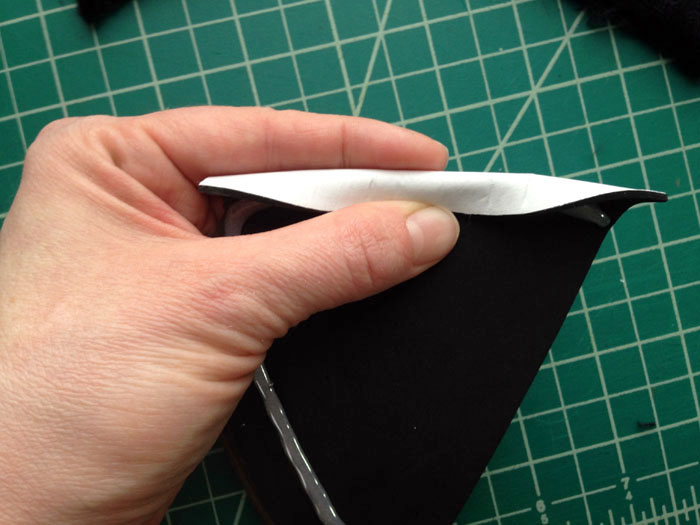
It seemed to work best to start in the center of each ear’s side, then work toward the edges and the ear tip – and give it plenty of time to dry before letting go. Here is one of the ears all rolled up and glued down:
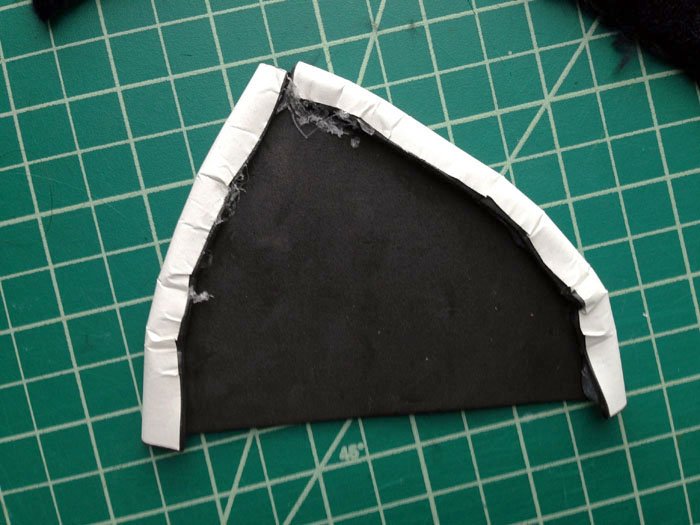
Next, I peeled off the adhesive backing:
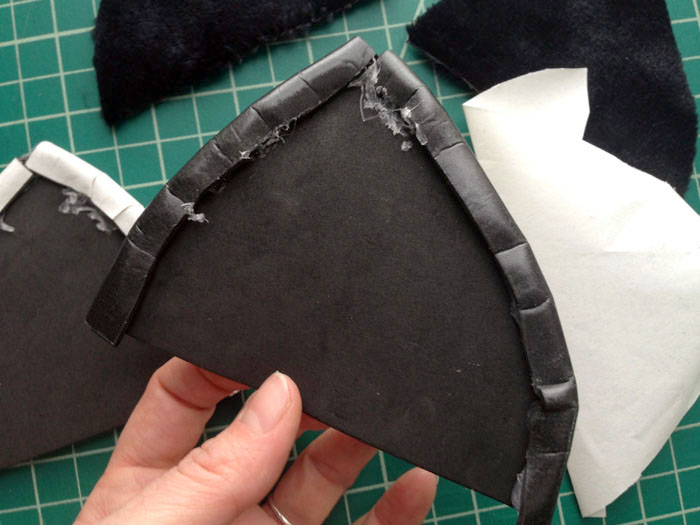
And plopped it onto my backing fabric:
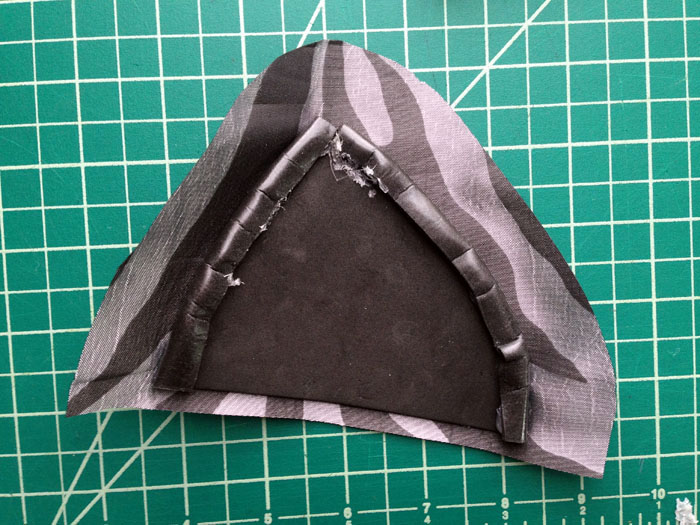
The back and sides of the ear are sticky, but the inner part needs glue to hold the fabric down. I glued the top and bottom sides first:
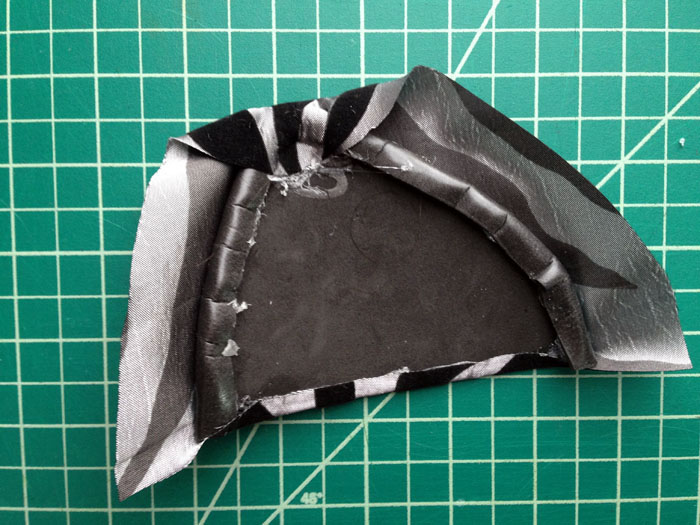
Then the edges. Here they are all glued down, and starting to come together correctly!
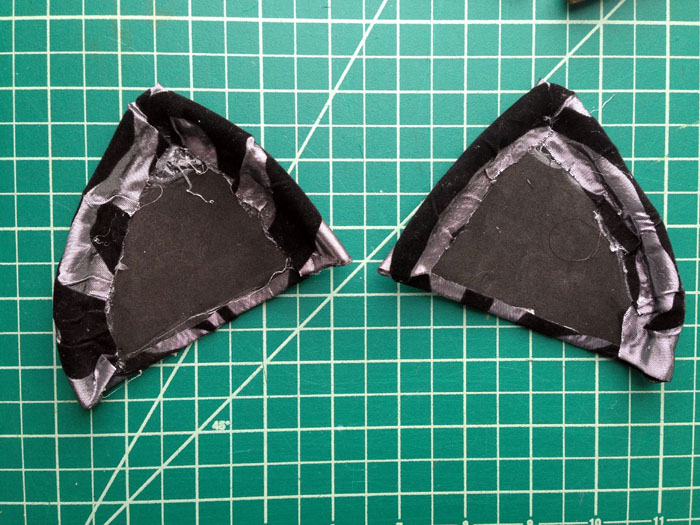
Next I cut 3 pieces of elastic, 2 at 10 inches, and 1 at 5 inches.
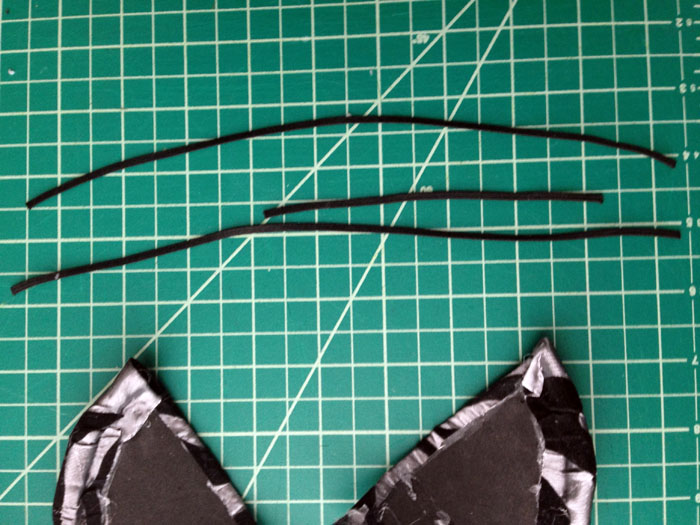
I totally forgot to get a photo of this – but the next step was to glue the elastic to the foam. I glued the short piece to connect the two ears – about an inch from the inner ear edge, and an inch of elastic glued, then I glued the longer pieces to the outside corners of both ears just inside the rolled portion.
Next, I glued in the fluffy inner ear fabric. I started at the top, gluing a little triangle and sticking on the ear, then working my way down like so:
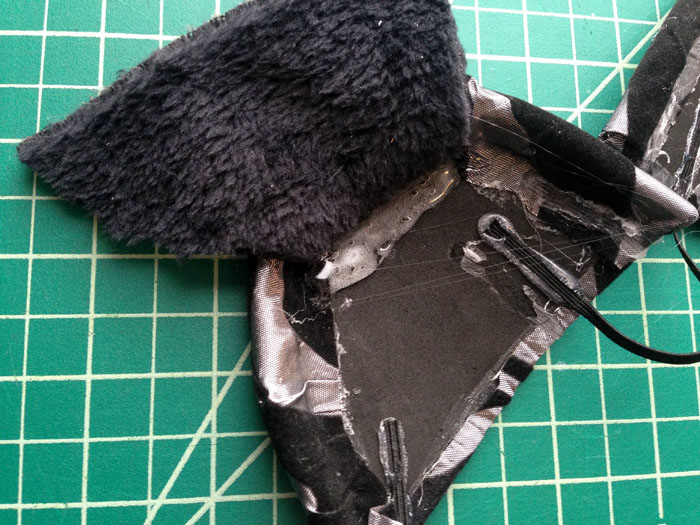
I only did a little at a time, and I used plenty of glue, and while each row of glue would dry, I curved the ear and held onto it – so it would be shaped like that when dry.

And there they are, all done! Here’s what they look like worn:
I am wearing a hat with them – specially shaped with an upturned back so it will fit in front of the ears. Here’s the look all put together:

There is also a brand new design – a tuxedo inspired jacket – as part of this set! I’ll get pictures this weekend!

