Category: Information

The Lie Etsy Told Me

In June of 2018, I took photos of this dress – my first fantasy design.
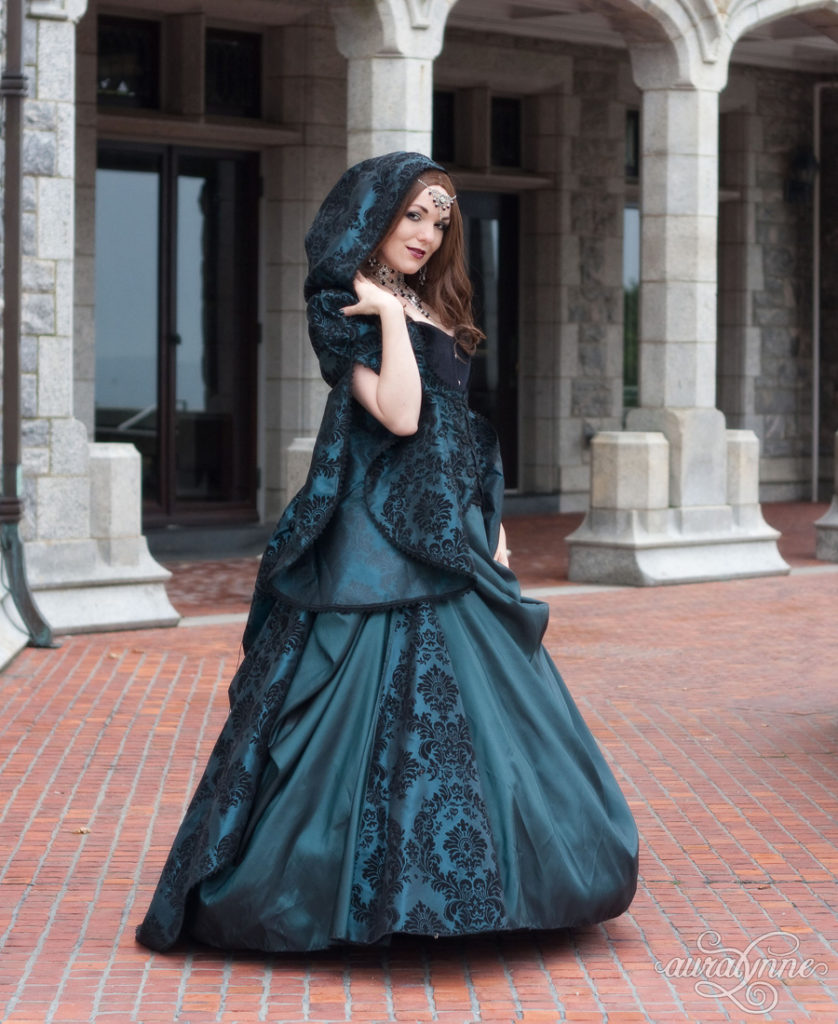
Fantasy Wedding Dress

It was also around then that I got an email from Etsy telling me they would be raising my fees. I was a bit nervous about my shop. I’d heard things about Etsy’s CEO (who had done a lot of for-the-greater-good projects) being fired and replaced with a new one. The new CEO was making a lot of changes very quickly.

From when I joined in 2007, Etsy was always a place where I knew I needed to drive my own traffic. Even as Etsy had gotten bigger over time, it was still a given that success on Etsy required doing your own marketing and promotion. Particularly if you sell something unique. Etsy would bring a few buyers that care about handmade in general to the platform, but if you want the buyers that care about the type of stuff that you make, you should work on bringing them yourself. In return for this, we paid low fees, and the number of buyers on Etsy’s platform kept growing thanks to the hard work of all the sellers in the ecosystem.

The fee increase seemed justified, because Etsy let me know that they would be changing that deal. They told me they would be using the extra money I would send them to bring more buyers to the platform. It was a large increase – from 3.5% to 5%. It would bring the yearly cost I paid to sell my designs on Etsy just in transaction fees (they charge us separate fees for hosting listings, and to process each payment) from about $1100 to nearly $1600.

But more buyers would make it worth it to me. I would continue with my marketing efforts, and with Etsy’s push to bring me new buyers as well, I would end up making more sales.

2018 was my best year. Towards the end of it, it did seem like they brought more buyers to me.

Sadly, that would be shortlived.

The graph shows Etsy’s active buyer counts each quarter for a year and a half before the 2018 fee increase and a year and a half after the 2018 fee increase. That information is public, because they release it to their investors each quarter.

What you see in the blue line on the left is a combination of people like me working hard to grow the platform, and the marketing Etsy was doing for a 3.5% fee. On the right you see two lines. The blue trendline, which is what you would expect to happen with no fee increase. And the red line – what actually happened.

Do you see that jump between the third and fourth quarter of 2018? And how the line goes nearly parallel afterwards?

I really believe Etsy ramped up marketing to buyers for a few months – for as long as they thought their sellers were paying attention. That red line going near-parallel is what would happen if they stopped all new marketing-to-buyer efforts after that point, but we sellers kept working hard to grow the platform. I certainly did.

And look at what happened with sellers in the same timeframe.

I had an amazing end of 2018, followed by a shrinking 2019. It’s exactly what I would expect to happen if Etsy only tried to bring me more buyers for a few months, and then used my money to bring themselves more sellers.

I really believe they took my money, and the instant I stopped paying attention, they used it to make themselves even more money.

They lied to me.

But I didn’t know that back then.

I wouldn’t find out until later.

This post is part of a series telling the story behind the 2022 Etsy Strike. Click here to start at the beginning.

The Death of my Etsy Shop

Image by icsilviu on Pixabay

Hi, I’m an Etsy seller.

I say that, and I feel the import of the words, and I realize something.  It might not mean the same thing to you as it does to me.  I should explain to you what I actually mean when I say that phrase…

Hi, I identify as an Etsy seller.

I guess it makes sense.  When you tell people “Hi, I’m an Etsy seller” for more than 15 years, it starts to become a part of your identity.

15 years ago, I would have told you those words, and then I would have said, “Have you heard of Etsy?”

Most likely, you would tell me no.  In return, I would say, “Oh my gosh!  You should check it out!”

I would explain to you how Etsy is this amazing online shopping site kind of like Ebay but for artists and craftspeople!  You can also get supplies on there, and they allow vintage too – which is totally cool, since vintage items are so fun and unique.

Really, it’s kind of an ecosystem for creative types!  In addition to the shopping, there are forums where you can connect with likeminded people. And oh!  The stuff you can find on there is so amazing!  It’s people – actual real people – making stuff, and sharing it with the world!

Would you smile?  Would you engage? If so, then I would babble on excitedly about Etsy for quite a while to you.  It’s hard to overstate just how enthusiastic I would have been.  If there were a choir devoted to singing Etsy’s praises, I would have been a lead soloist.

But that was then.

This is now.

Today, when I tell you, “Hi, I’m an Etsy seller,” I no longer feel any excitement.  Mostly, I feel tired.  And I feel frustrated.  Discouraged.  Betrayed.

Etsy is still a part of my identity, but it doesn’t feel like a healthy part.  I need to stop introducing myself that way.  Etsy is my master, and I am the abused dog that keeps coming back to them every time they call me.  I need to leave the platform.  I really could, if only I could stop believing in them.

And the phrase “Hi, I’m an Etsy seller” means so many other things to me too each time that I say it.

It means, “Hi, I’m so creative that I fail at life half the time, but holy crap, you should see the things I make!”

It means, “Hi, I’m an outside the box thinker who figured out how to build an online business from the ground up, with no training whatsoever!”

It means, “Hi, would you like to see my soul?  It’s on the internet.  Hang on, I’ll show you!”

This is the story of the death of my Etsy business.  I poured my heart and soul into my shop, and it is true that the first decade I spent with them was amazing.  

Since about 2018, however, they have done everything they possibly can to kill businesses like mine.

February 24th, 2022, was the final nail in the coffin of my belief in Etsy.  They reported a second year of record breaking profits to their investors, and at the same time, reached out to all of us, their sellers, to let us know they would be raising our fees… again.

At that moment, I realized I was done taking all of these horrible platform changes lying down.

I wouldn’t let Etsy kill my business.

I would fight back.

Mix and Matchable Skirts

I’m working on a new section on my website to help with ordering custom wedding dresses and costumes from me.  So it makes sense to have a list of everything I can make – every skirt design and jacket design.  And I kid not, I’ve designed and drafted so many beautiful skirt patterns over the years that I have difficulty remembering them all!

One thing that makes it complicated is my skirts are interchangeable.  I have front patterns and back patterns – and you can combine different fronts with different backs for a ton of unique styles.  For instance, here are two fronts, and two backs, and depending on which front and which back you choose, you wind up with four different skirts!

And of course, even more looks are possible if you switch out the petticoat!

Each time I’ve tried to list all my skirts, I’ve missed a few cute combinations.  And I definitely don’t want to miss anything in the new custom orders section for my website.  So I cut up a bunch of cardstock, did some reeeeeally quick sketches, and made cards for every skirt pattern I’ve drafted so far (or am in the process of drafting).

And then I looked at all of them and thought geez, no wonder why I’m getting confused!

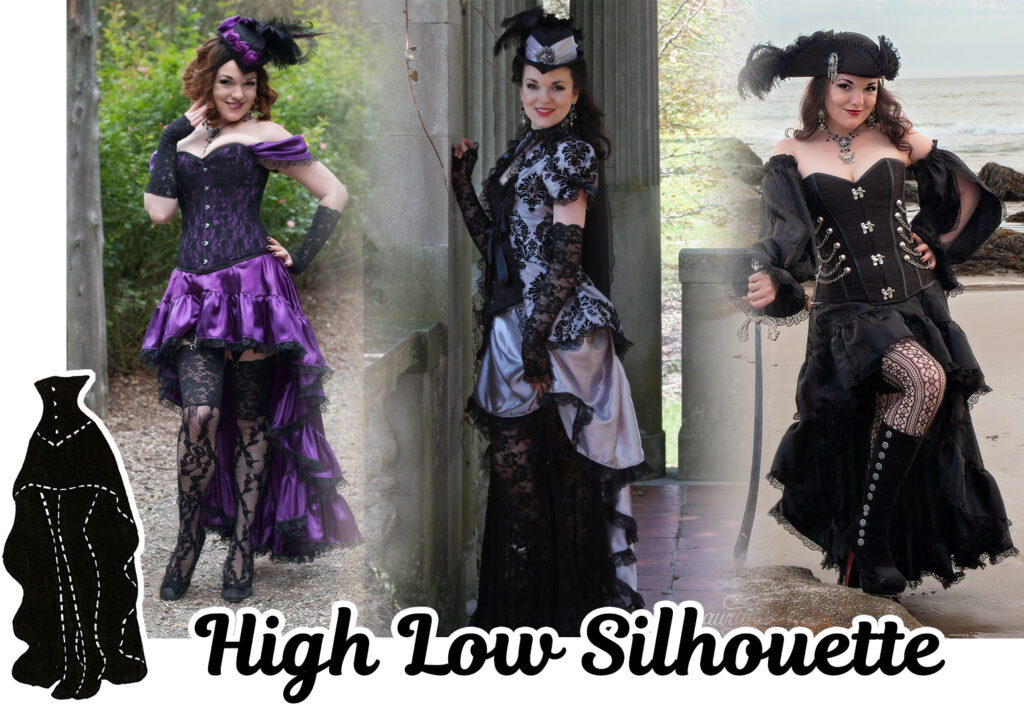
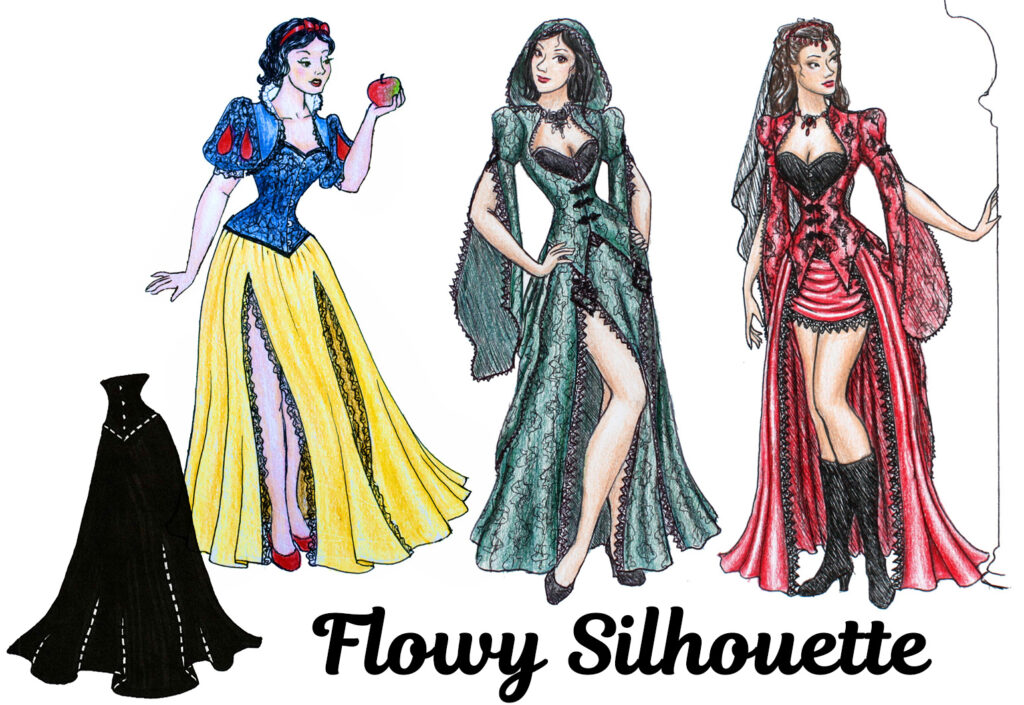
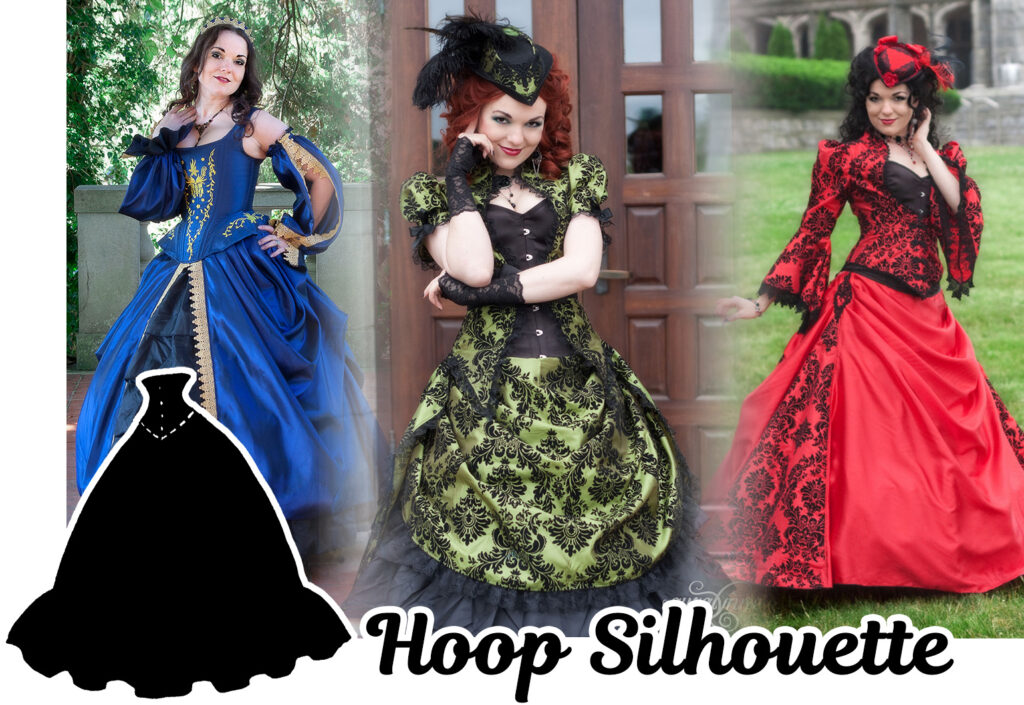
Once you start combining all these patterns with eachother, it makes quite the plethora of available styles!  So I’m sorting all my skirt styles into “Silhouettes”.

And here they are!

I think because I’m a Late-Victorian-Era obsessed nut, this one’s my go-to.  When I design new things, I practically have to slap my muse to not design a new bustle skirt!  So there have been a ton of bustle skirts over the years.

Sometimes I like to cosplay a younger character – or an adult character with a cutesy personality, and when I do, I definitely want a petticoat skirt. 

High low skirts are awesome because they look 100% amazing worn by themselves.  If you want a cute look but prefer not to have to mess with petticoats, bustles, or other undergarments, high low is the way to go.

Apparently I need to actually make a few Flowy skirts!  Lol when I went looking for pictures of them, I realized that none made it past the sketch point.  Flowy skirts are based on a full circle’s worth of fabric, and they fall smoothly past the hips.  They are supremely twirl-able, and – well, flowy!

Sometimes, you just want to go all out.  The costume equivalent to this is wearing a hoop skirt!  Many of my skirts have an alternate version to the pattern that’s intended to wear over hoops.  And I have a few dedicated hoop skirt patterns as well.

And then that is only the tip of the iceberg, since every silhouette has multiple skirt patterns, and usually there are multiple looks you can create with a single skirt too, depending on what you wear it with.  For instance, “Vintage Diva” my most popular skirt, can be worn in no less than 6 ways!

Lol, I fail at making/designing anything simple…

Which could explain why I always run late with new designs! I started writing and organizing pictures for this new section of my website way back in June! And I expected to have it complete by mid-July.

It’s September now, and I believe I’m about halfway done. Sigh.

I planned to do the writing/organizing part in all the “free time” I thought I’d have once Virtual School ended, but it hasn’t quite worked out that way!

But until I finish, I thought you all might enjoy this little preview. 🙂

Coronavirus Update: Is it safe to shop online?

To those who have been enjoying my stick-fingers-in-ears and sing LALALA approach to the coronavirus, no worries!  Your daily dose of pretty (with no mention of scary) will resume tomorrow!

But – if I don’t at least mention SOMETHING in the midst of this national emergency, I’m kinda out of touch with reality!

So here’s my coronavirus update.  First: if you place an order anytime from now thru the next few weeks, please give me a few extra days to ship!  Next week they’re having early spring break in Rhode Island, which will be followed by tele-school.  So I’ll be effectively home-schooling my first grader, and my special needs 6th grader. I expect to be very busy!

Most events around the country are being cancelled – so my orders have shrunk to only a few wedding customers, which is scary financially, but will help me keep up!  I do still need to keep posting listings on my website (if I stop it will hurt my search engine rankings), and I don’t want to disappear on social media either.

Luckily, we just took a ton of pretty photos, and I have a few of last year’s shoots that aren’t edited yet, that will be ready to share soon.  Here’s a sneak peek!

Photos coming soon!

I also have a completely irrational fear of being one of those people who have it, but feel perfectly good, and therefore don’t know and spread it to others!  It’s silly because I really don’t leave my house much, and my friends tend to be of similar ilk (no globe-trotting wanderers here!)  

But it led to me doing some research that I wanted to share.  In addition to being an online vendor myself, I do a lot of online shopping!  So I set out to answer the following question:

Coronavirus: Is it safe to shop online?

It comes down to this: How long can coronavirus live on a surface?  AKA, on an item in a box, that is being shipped in the mail.  For a while people weren’t completely sure – there weren’t any Covid-19 specific studies, and other strains of coronavirus can last up to 9 days on surfaces!  But finally we have a Covid-19 specific study.

The scientists found that coronavirus can live for up to 3 days (72 hours) on plastic and stainless steel.  They tested other surfaces too – 24 hours on cardboard, and only 4 hours on copper.  The study has yet to be peer-reviewed, but I’m assuming they’ll get to that quickly!  I’ll update this blog post when they do.

So we should all be safe shopping online.  If you want to be extra extra safe – check when the package was shipped, and if it’s one of those super-fast Amazon packages, and it contains something that can’t be washed or disinfected, disinfect the outside once it comes into the house, and let it sit until the 3 day point.

I’m young and healthy, so if I caught it, I’d be fine.  But I very much agree with the sentiment of trying to be responsible and not spread it to those less healthy than me!  So I’ll be extra extra careful over the next few weeks – disinfecting EVERYTHING, and doing that thing they call “social distancing”, just to be safe.  I prefer relaxing in beautiful, wide open natural spaces over crowds anyway!

New England is rather pretty, even this time of year! Photo by tpsdave on Pixabay.

My Pants and Garter Shorts – Behind the Scenes

I grew up in a hick-town part of central Florida, and I’ve always loved to hop on the road and have an adventure!  In my late teens I discovered that Miami was THE place to go to find some seriously amazing shopping.  I’m talking flea markets full of the most ridiculously cute clothes imported from South American countries – all affordable on an after-school-job budget.

My sister and I started to make a trip down to Miami once each year to restock our wardrobe.  And we discovered Brazilian jeans.  Brazilian jeans are amazing – with a fit that is utterly addictive.  They are butt-hugging, hip-enhancing, comfortable perfection!

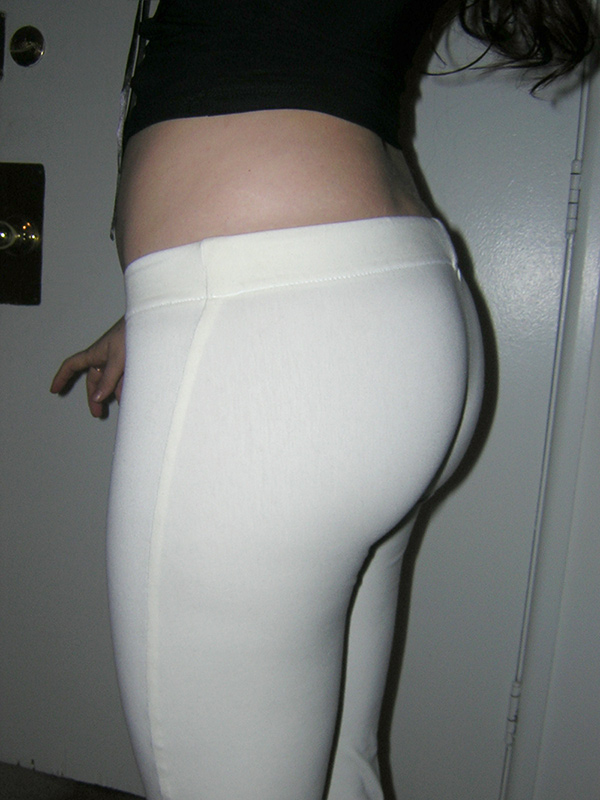
When I moved to New England as an adult, I discovered that they don’t exist up here!  And eventually, all my pairs were wearing out.  I hate the way regular pants fit in the store.  They always feel like they are trying to ride down my butt in back – and then the front has the exact opposite problem – with this weird fold that makes me look like I’m packing something…

I pulled out several pairs of my Brazilian jeans, and compared them to a pair of regular pants to analyze what makes them fit so well.  Then I worked on developing my pants pattern.  I tweaked it until it felt utterly perfect (actually more comfortable than my Brazilian jeans).  

Closeup of Pants
My first pair of pants. This is the “LOOK THEY FIT!” photo I sent to my sister, lol!

Then I drafted other sizes in the pattern, made more pairs, and tried them out on my friends and family – who loved them!  Several even refused to ever buy pants in the store again.  They looked amazing on every one – in every size – but were so comfortable that everyone felt like they were wearing yoga or pajama pants.

Tribal Belly Dance Pants
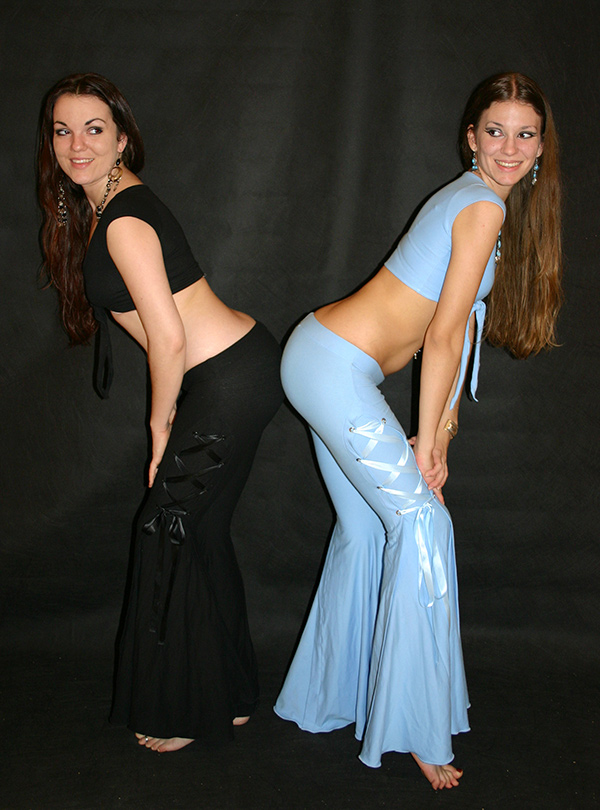
My sister and I, c. 2007, being silly, and wearing my corset pants. You can see how they are ultra low rise, but still don’t ride down in the back when you bend over!

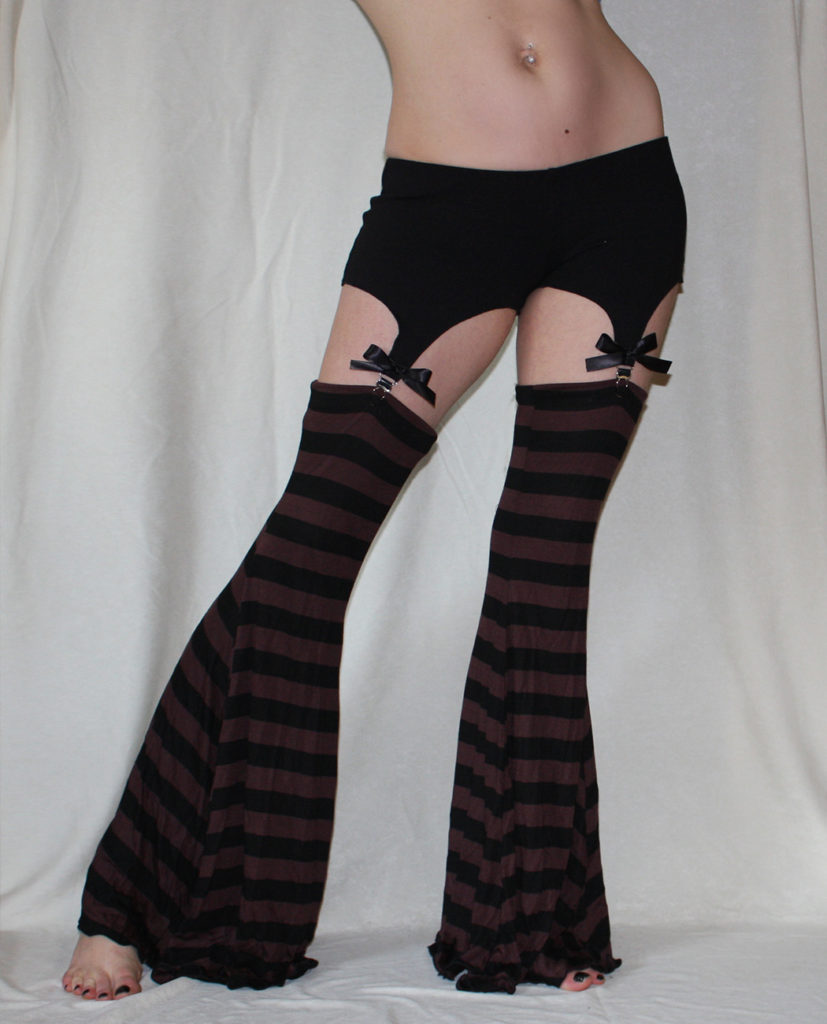
Pants used to be my most popular item!  I made them to-measure, so they’d be the perfect length for each customer.  In 2009, I designed my garter shorts.  In the beginning, they looked like this:

Garter Pants
Garter shorts used to be lower rise than today’s version, and they had bows at each tab. I later left off the bows because they can be uncomfortable to sit on!

When I transitioned to making Steampunk, Victorian, and Fantasy costumes in 2013, I wound up discontinuing my pants, along with most of the belly dance themed items I was making back then.  But garter shorts had to stay – after all, they are the perfect piece to complete so many costumes!  

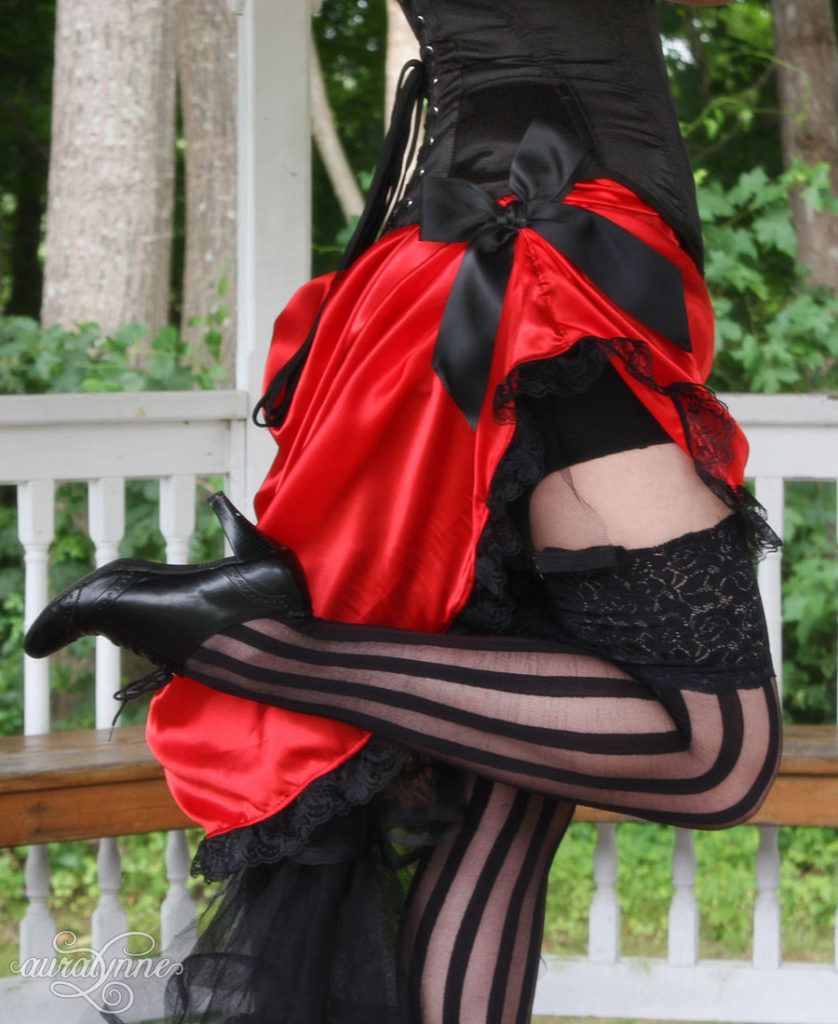
Saloon Girl Skirt
A saloon girl skirt, from 2014, worn with my garter shorts.

Over the years, I’ve toyed with the thought of offering my pants for sale again.  There’s this Saturday-night effect I find at festivals – lol it’s what happens after you spend a half day on Friday, then a full day on Saturday all trussed up in corset, bustle, and possibly even wig and hoop skirt.  Saturday night comes around, and you start thinking “get this stuff off me!” but you still want to be cute, because duh!  It’s a festival…  

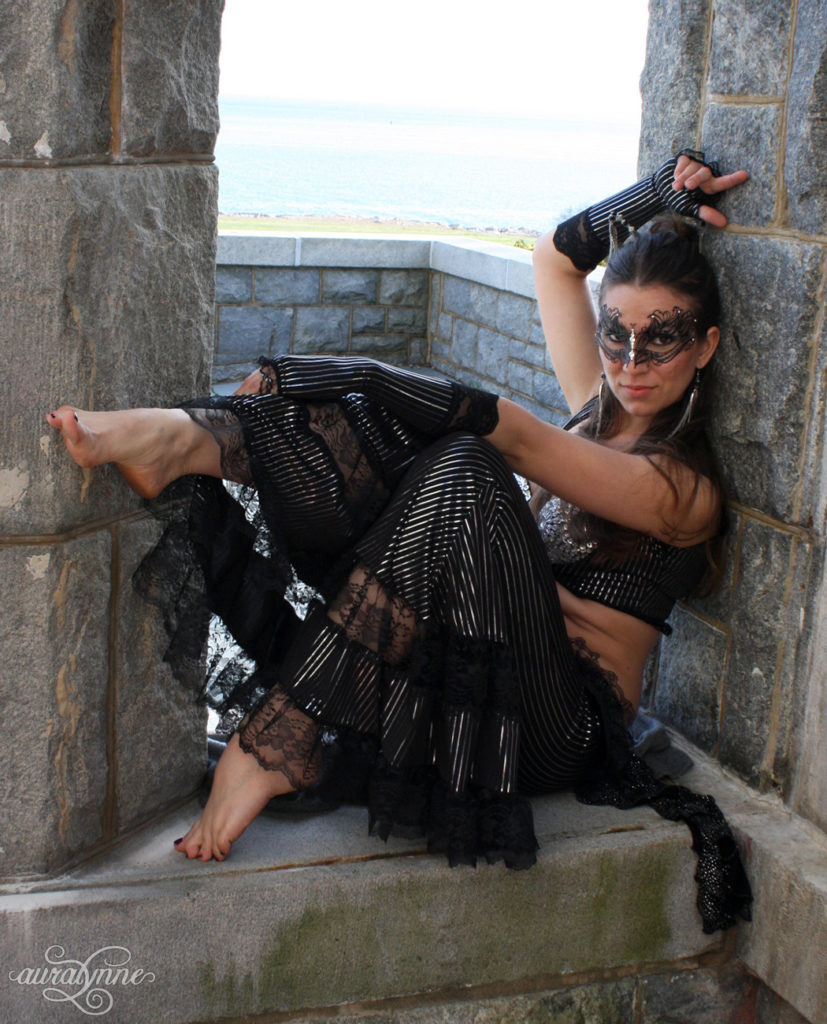
If I were to take all of my best ideas from back in my belly-dance-designer days – I’m talking sparkly, stretchy fabrics, metallics, glitter, possibly even some LED’s… Then I’d combine them with today’s ideas – and wind up with epic flare pants with lace insets, shrugs and tops with long flowy sleeves, and slightly more danceable versions of things from my current designs.  It would wind up being this incredibly fun blend of Rave, Steampunk, Fantasy, and Belly Dance, and it would be uber comfortable to wear, and I WANT it, lol.

Tribalista Belly Dance Costume
This is about the closest pic I can come up to give you an idea as to what I’m talking about! It’s the last belly dance costume I designed, from early 2013. Picture some of what you see here, plus some of what you see in my current costumes!

The idea’s been in the back of my head for a while – but I’ve held off because I’m not sure if it will be popular!  Also, these days, I no longer have the figure to take uncorseted photos.  😛  So I’d need to coordinate my ideas with local models – possibly find a studio I can rent for the day to be able to take the photos.  I’m hoping to make this idea a reality in time for a show I’m attending next February.

If you’d like to see it happen – drop me a line, and tell me I should get my butt moving!  😉

Announcing… Pre-Orders!

The face I portray to the world might be the queen of costumes – but privately, I’m a mom of two boys.  

Photo of my boys in a swing
My boys. This pic captures their personalities well – Technology obsessed Tristan, and JJ the ham!

It’s important to me to be there for them when they get out of school.  So I create all my pretty things from a home studio.

We’re looking for a house this year – but for now there is a challenge – all of my materials and in-stock costumes have to fit within a very small space!

I outgrew this space quite a while ago.  (Like, two years ago!)  I’ve been hanging on by my teeth by sewing a lot of custom orders – and trying not to have too much left over fabric and trim when I’m done with each of them.

I followed that path to its conclusion – which turned out to be very long hours, terrible hourly pay, a disorganized overstuffed workspace, and a lot of private frustration for me.

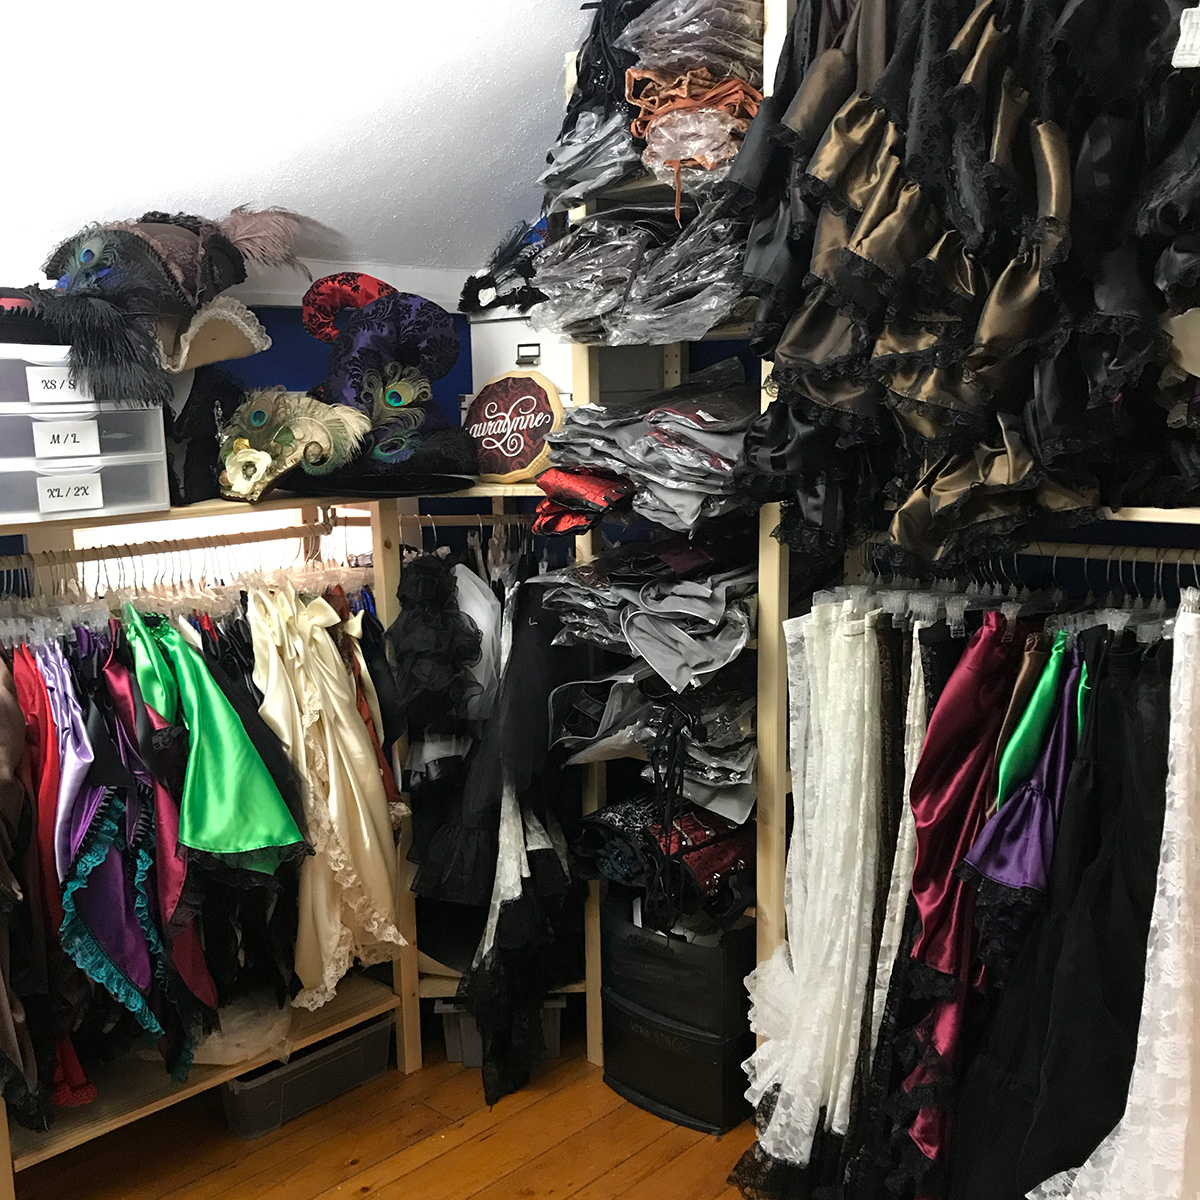
Overstuffed Stock Closet
Ikea shelving helps me fit pretty things from floor to ceiling in my cramped stock closet.

It led to me discontinuing custom orders.  But that introduced a big problem!  I can’t stock plus sizes (small studio, remember?) except on my most popular designs.

And if I had to choose my #1 priority – it would be making my pretty things available to as many people as possible.  If you are plus sized, believe me, you are the last person I want to exclude.

Also, there are some of my designs (full length skirts, for instance) that should really be made to your measurements.  The downside to using all that pretty lace at the hem, is you don’t want to be stepping on it!

I thought on it for quite a while, and came up with:

Pre-Orders

I’m working on starting an email newsletter.  That newsletter will contain (among other things) a secret link.  Each month, I’ll offer exactly one fabric and trim combination available for custom orders.  Usually it will be just one style that’s available – but I’ll offer choices in styles sometimes too.

This way I can continue to offer items made just for you – but in a way that doesn’t eat all my time!

2019 Year in Review

Do you like to set goals this time of year? I do, big time. I also like to spend some time thinking about the goals I set last year, and how well I did at accomplishing them.

And in doing so this year, I have come to the conclusion that 2019… sucked, big time!

I started 2019 on a high note – all fired up! 2019 was going to be the year that I finally figured this stuff out! Success, and dare I say, even a good hourly wage (if you know anyone who has a handmade sewing business, you know that’s the toughest part). All this would finally be at my fingertips!

Lol, I even channeled all that excitement into a bit of artwork:

Dream Big... And believe in yourself

Then came 2019, and (insert crash and burn sound here!)

If you’ve been following me for a while – you probably figured out that I’m an overwhelmingly positive person. Lol, to the point of delusional sometimes!

Therefore, I have no failures, only learning experiences. 😜

So 2019 was a great year, because I learned something important, and I even figured out how to make it happen in 2020…

So, I have bad news, and I have good news. Which do you want to hear first, lol? I’ll start with the bad news.

I am discontinuing custom orders.

If you’re one of the people who’ve been saving money for one of my custom made gowns, and planning to purchase in 2020, I’m truly sorry.

The lesson I learned in 2019 is this – if I want to add new things into my schedule – I have to cut something out! I have to stop thinking that I can just manage my time a little better or work a little harder – it doesn’t work like that. Custom orders are the most time consuming part of what I do. And even though the prices I charge seem (at least to me) rather high – when I divide it out by the time I spend on communication, ordering custom things, pattern tweaks, and sewing things one at a time – I’m earning below minimum wage on average for each custom dress. That isn’t a sustainable business model… 😬

So I’ve deactivated my custom made listings on Etsy, and I’m going thru my listings that have a custom made option one at a time, and updating them with the new information. It’ll take me a few days to finish.

Then when I’m done, I’ll be able to work on several new and exciting things. So without any further adieu, here’s the good news!

I’m starting a Youtube channel.

I’ve known this for a long time – I need to get my pretty things on video! There are so many things that can’t be captured in a photo – how things swish when you walk, the way that literally EVERY angle looks beautiful in one of my dresses, the complete head to toe transformation when we get ready for a photoshoot! And I think it will be a ton of fun too, once I figure out how to use the technology to make the videos. ^.^

Auralynne.com store coming soon!

…For real this time! I actually almost finished it last year. This year it’s HAPPENING. The store on my website will make it easier for me to keep track of what’s in stock, give you discounts when you order a full costume from me, and sell things I don’t make that all of you would love (like my corsets, and fun costume accessories.)

Newsletter coming soon!

In fact, you can sign up for it right now. I’m still working on my welcome series – and once I finish it, I’ll send it to you – and then there will also be a once-monthly newsletter from me, and a few subscriber-only perks too. You can sign up for it at the bottom of this page!

Are you excited? I’m excited. 2020 isn’t just a new year, it’s a new frigging decade! And it’s gonna be AWESOME.

Corsets 101 Part 8: Storage and Care

Chocolate, pizza sauce, wine…

Pizza and Wine (both things you don't want on your corset!)

All these things have their (delicious) place in life – but hopefully you can keep them off of your corset. If you failed at this task, however, have no fear. I’m here to help!

How to spot clean a corset

There is a product that I swear by, when it comes to caring for and cleaning my cosplay clothing. It’s Clorox 2 liquid. The image below (an affiliate link) will take you to purchase on Amazon – but you can get this at your local Walmart too.

I don’t know how many 50’s housewives they sacrificed to achieve this… 😉 But I swear, this stuff will remove the worst stains from white – while colors either remain unchanged, or look brighter afterwards!

I recommend testing a spot first to be safe. If your corset has a modesty panel, there is a line along the attached edge that will be underneath the grommets when you lace up. Take a toothpick, dip it in Clorox 2, and put a tiny bit in an inconspicuous spot. Let it dry for 30m to an hour, then keep wetting the spot with water and blotting it with paper towels. Keep repeating, and be sure you don’t have a bleached spot. If not, you are good to go!

You’ll need the following:

  • Clorox 2
  • A couple Q-tips
  • A bowl of water
  • Plenty of paper towels

When the stain first happens, if you can, get as much out as possible by blotting it with dry paper towels, wetting just the stained portion, then blotting again until it lightens. Before you start with the Clorox 2, get the spot as dry as possible. The magic seems to happen only when it’s extremely concentrated.

Use a q-tip to apply Clorox 2 just to your stain. Let it sit for 15m. If the stain is still there, apply more Clorox 2, and let it sit for another 15m. Repeat until the only added color in the spot is blue – up to an hour total. Remove the Clorox 2 by applying water to the spot with your second Q-tip, and blotting it out with paper towels. Repeat a butt ton of times, until the blue is gone and the water spot is barely visible. It should disappear once the corset dries all the way.

I’ve used this technique to remove a black ink stain from an ivory corset (as well as less taxing stains) – with perfect results.  It’s time consuming, but it does work!

How to Wash a Corset

My official recommendation: Don’t!  Corsets should be dry cleaned.  If you live near a big city, there may even be a dry cleaner who has experience with them.  You can call around and check.

Confession, however: I hand wash my own corsets.  One of these days, I plan to open up the banding on a couple of them that have been thru the process at least three times, and pull out the steel bones to see if I’ve ruined anything using my technique.  If I find no rust, I’ll post a tutorial outlining the process.  It is a rather long undertaking – and requires owning some specialized equipment (namely, a tailor’s ham designed for ironing sleeves) – but the end result is a corset that looks and feels brand new.  If and when I post the tutorial, I’ll update this post with a link.  🙂

Best Storage Practices for Corsets:

If you wear your corset on a warm day (or if you sweat a lot on a cold day) be sure to air it out before putting it away. Flop it over the back of a chair (with laces spread wide so the modesty panel can breathe too) and put it away the next day.

It’s best not to wrap the laces around the corset when storing it. It will sometimes leave random weird looking dents in the waist area, and I’ve heard it isn’t good for the corset either. If you buy a corset from me, it will come with a fabric storage bag, like this:

The bag included with each of my corsets.

Rather than simply stuffing the corset in the bag, I recommend lacing it up first. Fold the strings, then fold the corset around the strings, and put it inside the bag. The bag will keep the corset safe from other items, and your other corsets if you store them together. If you’re packing the corset for a trip, it will also keep the corsets busk and/or any hardware from messing up any of the items in your bag.

And that’s it! I hope you enjoyed my Ultimate Guide to Corsets. If you think you may have missed one of the parts (there are 8!) you can access each via the links below.

Part 1: History

Part 2: Types

Part 3: Real Corsets

Part 4: Anatomy of a Corset

Part 5: Pattern Matters

Part 6: Sizing

Part 7: Comfort

Corsets 101 Part 7: Comfort

Every time I go to a Steampunk Festival, I see T-shirts that say something like this:

“Boots First, Then Corset”

And I wish I had my own T-shirt that says something like this back at them!

“A pro can put them on in either order.”

Here are my best tips on how to wear a corset like a pro!

How to be able to move while wearing a corset

  1. Get a corset that fits you properly.
  2. Don’t lace it too tightly at the chest. Because breathing is important.

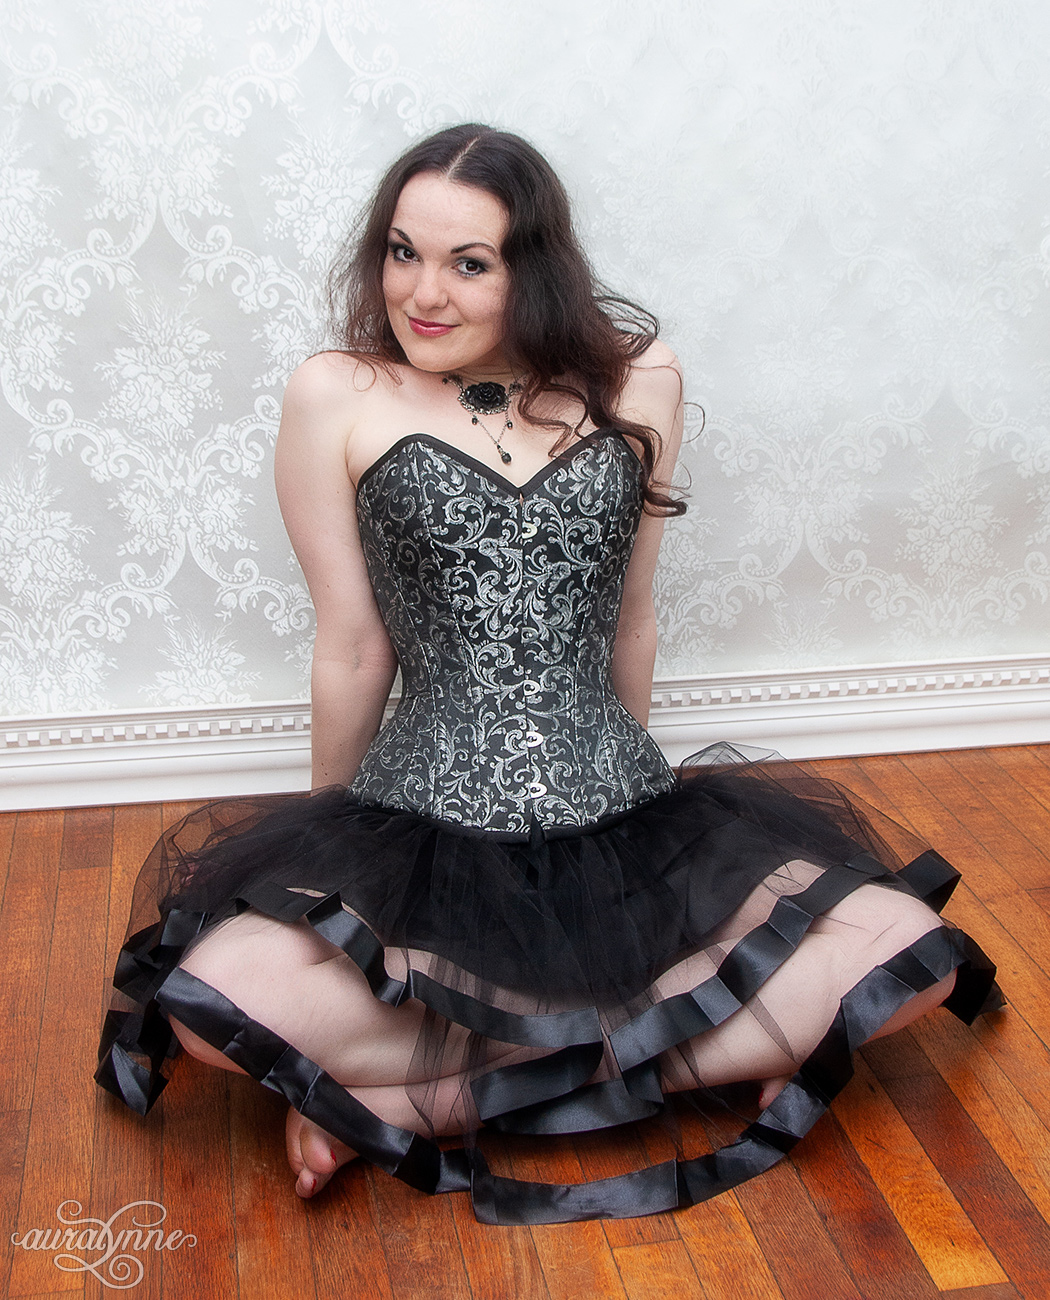
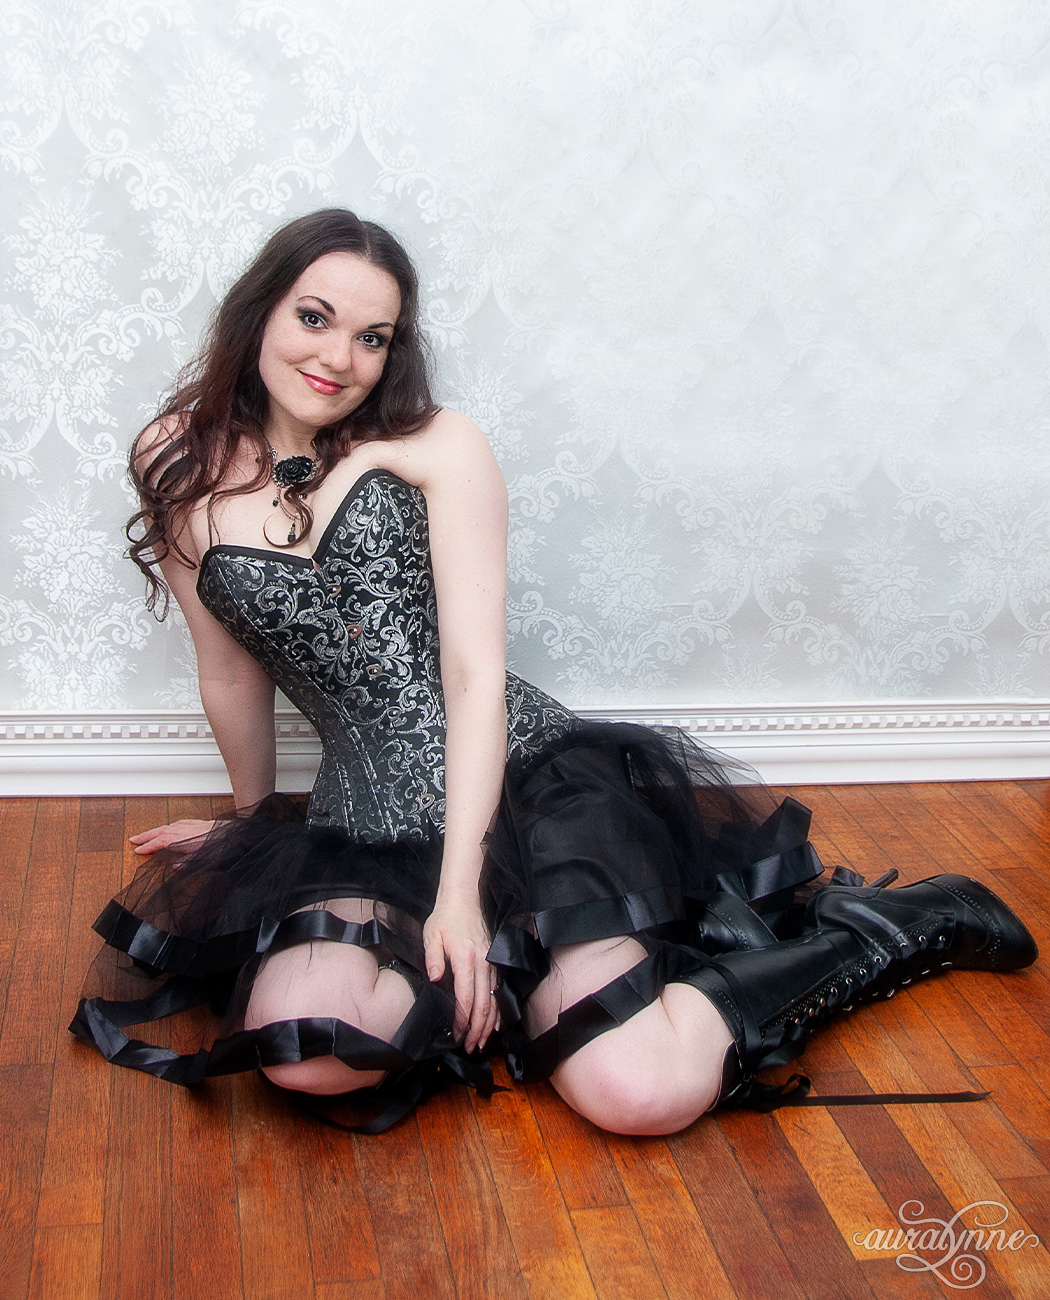
That’s it! To illustrate, I took a few pics. I chose the most heavy duty corset I have. It’s double steel boned (with two spiral steel bones along each seam), weighs just shy of 2 pounds, and is about 3/8 of an inch thick along the boning channels. I’m laced pretty aggressively. Right now my natural waist measures 32 inches, but me plus thick corset measures only 26.5 inches around in these photos.

So here are a few photos showing what I can still do while wearing this crazy heavy corset. I’m not particularly flexible. (Exercise, bah!) But most everything that I can do uncorseted, I can still do while corseted.

Sitting cross legged in a corset

I can sit cross legged.

Picking up goggles while tightlaced

I can pick things up off the floor.

And yes, I can put these amazing boots on. If you follow all of my tips, you’ll find that corsets can be surprisingly comfortable!

Sitting pretty (and comfortably) while tightlaced in a corset

Corset Lacing Tips

Since I design and sell corsets, it made sense to put the corset lacing tips with my store! So if you have a corset, and you’re trying to figure out how the heck to get the thing on, please head over to the guide in my FAQ. 🙂

How to Lace a Corset by Yourself


Corset Comfort Tips

Most corsets require seasoning, or breaking in. This is less true with my hourglass corsets (they mold to your form very quickly.) But typically, to be sure you are comfortable at your event, it’s a good idea to wear the corset for an hour or two per day, for several days before your event. Also if you are wearing a corset (like the silver one I wore above) that reduces your natural waist more than 4 inches, I really recommend waist training prior to the event (Wear the corset or a training corset for a few hours each day, to accustom yourself to the feeling.)

A thin spaghetti strap tank top (like the ones in my affiliate link above) will save your life. You wear it underneath your corset with the straps tucked inside. A V-neck is best for not showing – or, pull it down really far before putting on the corset.  Why? Several reasons:

  1. Laundry day sucks. And corsets are a ROYAL pain to clean. But tank tops absorb sweat and are easy to clean.
  2. The tank top adds an extra layer between your bones and the corset’s bones. It’s a bit more comfy that way.
  3. When all done with your event, it’s quick and easy to go fishing for straps, take off the corset, and SLOUCH.

Tips for car travel in a corset

If you need to ride in the car to get where you are going, “car-tighten” your corset. That is, lace it just tight enough that it won’t fall off. It’s uncomfortable to wear a tightly laced corset in the car, and you can tighten it when you get there. We are cosplayers. We own our right to get dressed in the parking lot. 😉

Speaking of getting dressed in the parking lot… If I’m traveling to an event more than an hour away, I’ll leave the corset in the back of the car until I get there. Which is reason #4 for the tank top!

Things not to do

Never unhook the front of a tight corset. Loosen the laces first. Unhooking a tight corset causes undue wear and tear in the busk area, and can cause stitches and even fabric casing to tear over time. This is also true with swing clasp closures – although to a lesser extent.

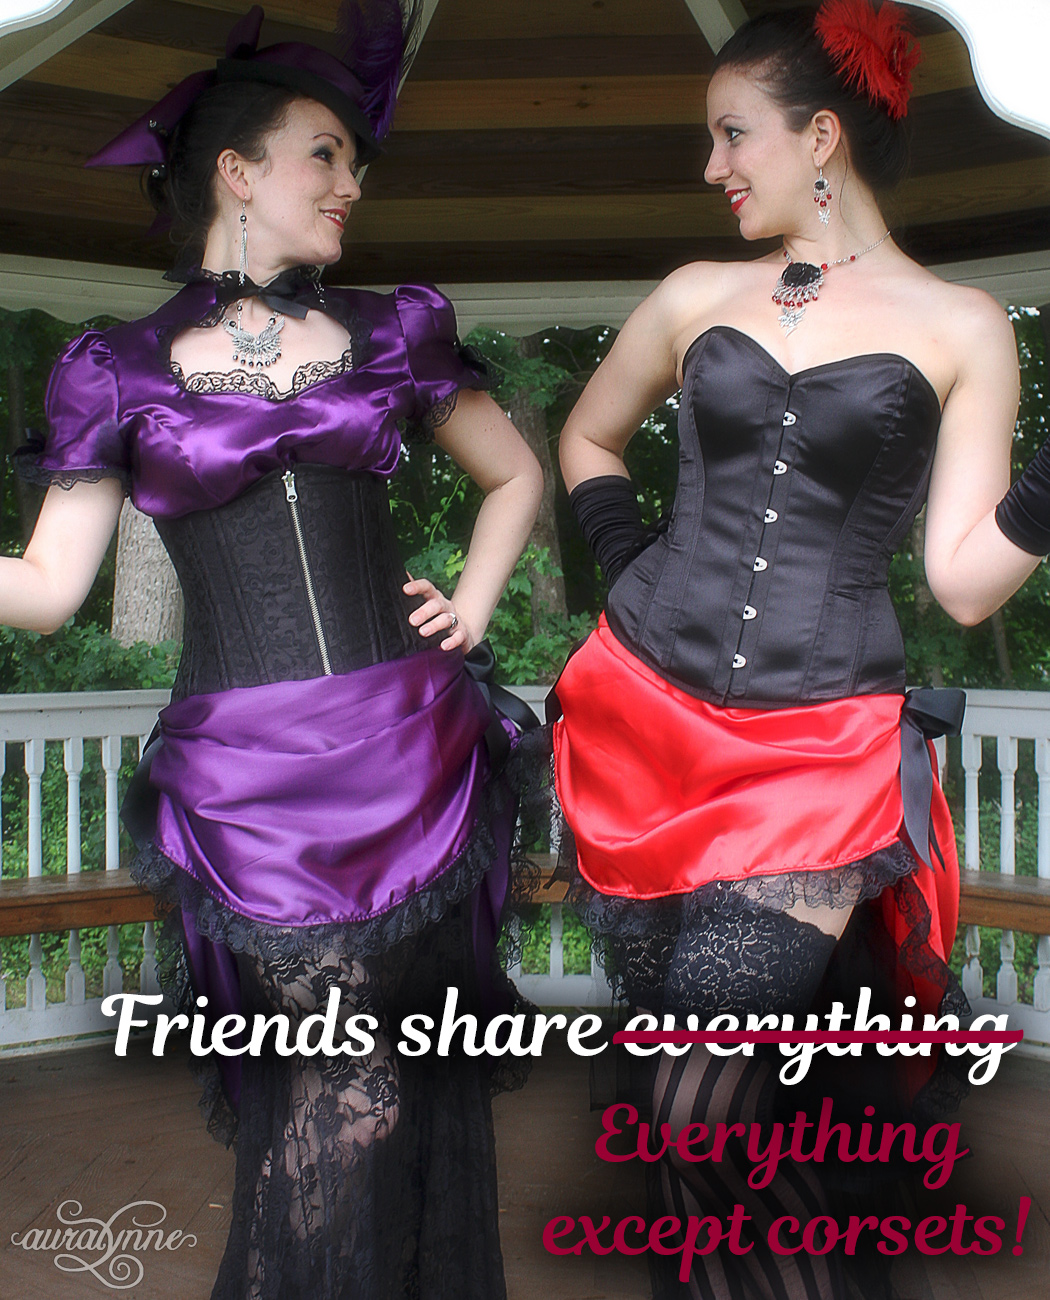
Friends share everything except corsets

Your friends will love you if you let them borrow your corset… But you might not love your corset quite as much when you get it back! Letting friends borrow a corset, in my experience, seems to be the number one easiest way to make it go crooked. We’re all shaped slightly different, and most people have torso shapes that are asymmetrical in some way. The corset molds to your form over time. If worn by someone else it will try to mold again to their form – and then when you get it back, it will need to mold to your form again. The process winds up being quite hard on the corset. So just a tip – if you reserve your corset collection for your own use, each corset will last you a lot longer.

And those are my best tips on how to be comfortable while wearing corsets. Coming next week – Part 8: How to care for a Corset!

Corsets 101 Part 6: Sizing

Before I did this series of posts, I posted this question on facebook and instagram:

Corsets FAQ

And I was surprised when about 90% of the responses were questions to do with sizing!  As well as kind of pleased – because that’s a subject I feel that I’ve really got a handle on!

My Story

I’ve been selling made to measure clothing online since 2006 – but it was in March of 2013 that I started specializing in corset costumes.  And as always, the first thing I did is put my proverbial mad scientist hat on – and I did a ton of experimentation!  I trolled facebook groups and volunteered to supply costumes to local collaborative photoshoots.  I took measurements for all the models, and made notes of which size they wore in my corsets.  And I did the same thing with friends and family – until I had a big database of measurements, along with the size that each person wore in my hourglass corsets.

And I used that data to come up with a sizing strategy for my corsets.  It’s very different from the way most other stores out there do it… but it works!  Here’s what I have learned.

Tip 1: Don’t size by waist.

Most stores recommend to size your corset according to your waist.  But very often, this won’t work.  The reason why is simple: Your waist squishes when you wear a corset, but your rib cage and hips can’t squish.  So the most important measurements to determine your size are actually bust (or underbust for an underbust corset) and high hips.

Tip 2: Don’t lace a corset closed

Corsets aren’t supposed to lace closed.  If you have purchased one that laces down to less than a 2” gap in the back, return that sucker and get a smaller size.  Part of what makes them work is some heavy duty steel boning beside the grommets in back.  And that boning should rest on top of the muscles on either side of your spine – and never too close to your spine.  A corset that laces too close together is bad for your back.

Note: I have read conflicting information to this statement – there are a lot of tightlacers who lace  their corsets closed.  I think that there may be exceptions to this rule when a corset is custom made to your form (with a mockup and a test fitting) that makes it possible to lace shut without back pain.  I can tell you – for me personally – If I lace a 26” corset (in any style, overbust or underbust, any shape, and any level of curve) all the way shut, I will experience back pain in 5-15 minutes time.  But it I don a 22 or a 24 in the same style, and lace it to a 4 inch or a 2 inch gap, I’m perfectly comfortable.

Tip 3: Underbust Corset Sizing

Are you tall, or long waisted?  If so, then yes, you can most likely wear an off-the-rack underbust corset.  If you are short waisted, well endowed, or any number of things that could mean you have a short torso (particularly a short waist-to-underbust measurement) then underbust corsets very often won’t fit you!  I’ve bought several from my wholesalers, and although I am average height, I’ve found that I need a shorter corset.  A “Waspie” is a term used to describe a very short underbust corset.  If you find that standard underbust corsets are too tall for you, try searching for a waspie.

Tip 4: Lacing Cheats

Corsets are made to have average bust-to-hip ratio – but if you have a bigger bust, or bigger hips, it’s okay to lace your corset in either of these ways to get it to fit:

…But!  After you lace up the corset like this, feel the flat steel bones by the grommets, and make sure they are flat.  If they are trying to twist on you, that means your corset does not fit – and you need one that is customized to your natural shape.

Tip 5: Wear a bra

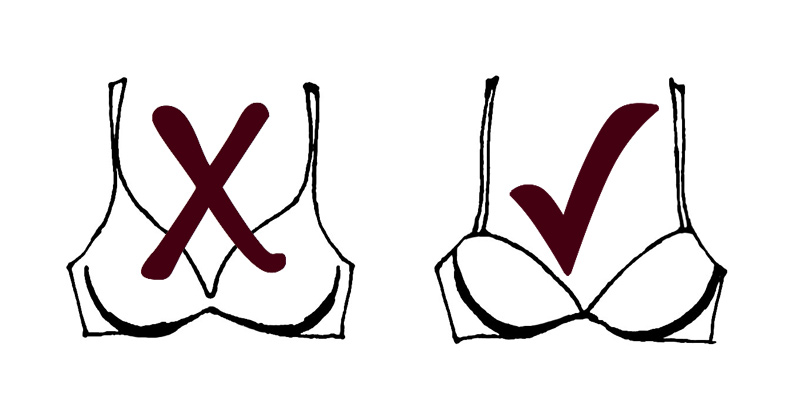
Yes, it’s perfectly okay to wear a bra underneath your corset.  In fact, if your cup size is below C, I recommend wearing a push up bra beneath your corset.  But you’ll need a very specific style of bra to get it not to show.  You want a half cup or Demi cup bra – as shown in my sketch below. If your bra has non-removable straps, tuck them inside the corset before lacing down all the way.

If your cup size is DDD or above, you probably can’t wear a bra underneath your corset.  No worries, however, a real steel boned corset provides amazing support (much better than your best fitting bra!)  If you aren’t wearing a bra underneath your corset, lace up partially, then reach down the front and scoop – make sure both ladies are exactly where they are supposed to be!  This will help your corset lace down better, and your chest fill the corset’s chest area better.

Those are my best tips for how to get a corset to fit you perfectly.  Next week, I’m going to talk about how to be comfortable (yes you can be comfortable) while wearing a corset.

Corsets 101 Part 5: Pattern Matters

Today, most manufactured corsets seem to have a shape sort of like inverted parenthesis – like this:

) (

So the first thing I wanted to do is explain why that’s not good!

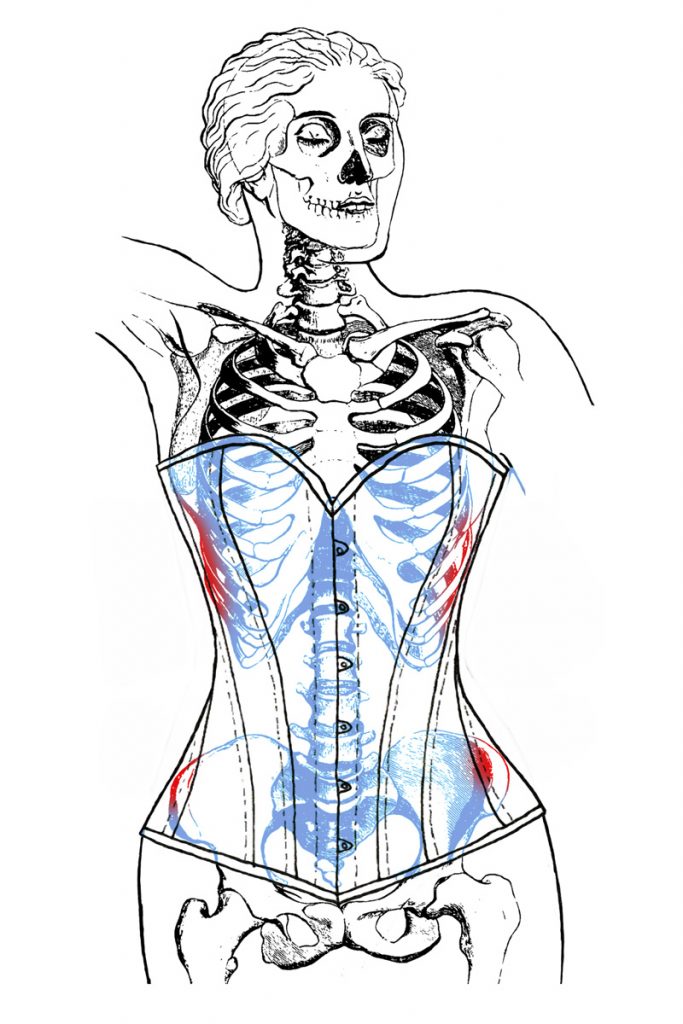
Parenthesis Corset Bones
The shape of a “parenthesis” corset, in comparison to the shape of your bones

Your bones aren’t shaped like parenthesis!  They curve in at the ribs and have a sharp curve at the hips.  There are steel bones along each seam of the corset – and if the corset does not follow the shape of your bones, you will feel those steel bones digging in in places.  The red in the sketch shows the spots on which you’re likely to feel some discomfort, when you wear a corset shaped like that.

Hourglass Corset Bones
The shape of an hourglass corset, in comparison to the shape of your bones

Hourglass corsets are much more comfortable.  They curve with your bones, which keeps the corset’s bones from digging in.

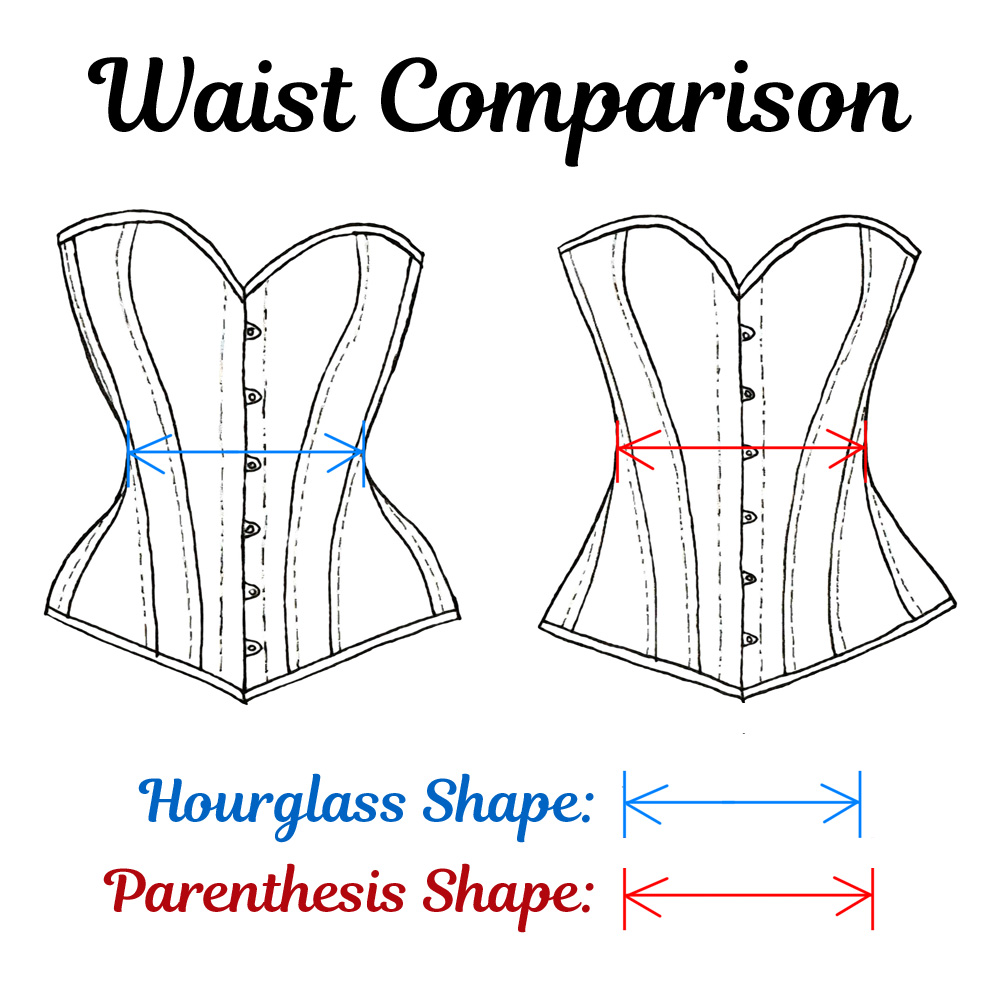
And here’s the really cool part.  Hourglass corsets will actually make you look curvier – and make your waist smaller, while being more comfortable to wear than a corset with a “parenthesis” shape.  This image shows just the corsets from my sketches above, with the comparison of the waist size for each.  See the difference?

Hourglass vs Parenthesis
Hourglass Corset vs “Parenthesis” Corset

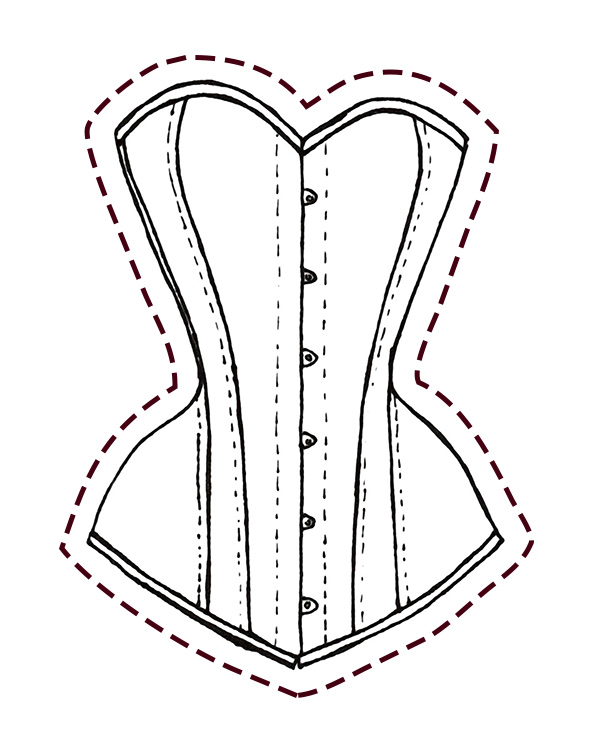
Most people prefer hourglass, but there are other shapes out there too.  The picture below shows a conical or wasp waist corset.  You wouldn’t typically purchase a corset with this shape unless you are a waist trainer (someone who wears a corset daily to reduce waist size).  It will actually move your ribs.  When I’m waist training, I like wearing underbust corsets that have this shape.  Oddly, if I’m wearing a corset more than one day at a time, a conical shape feels more comfortable to me.

Wasp Corset
A Wasp (Conical) Waisted Corset

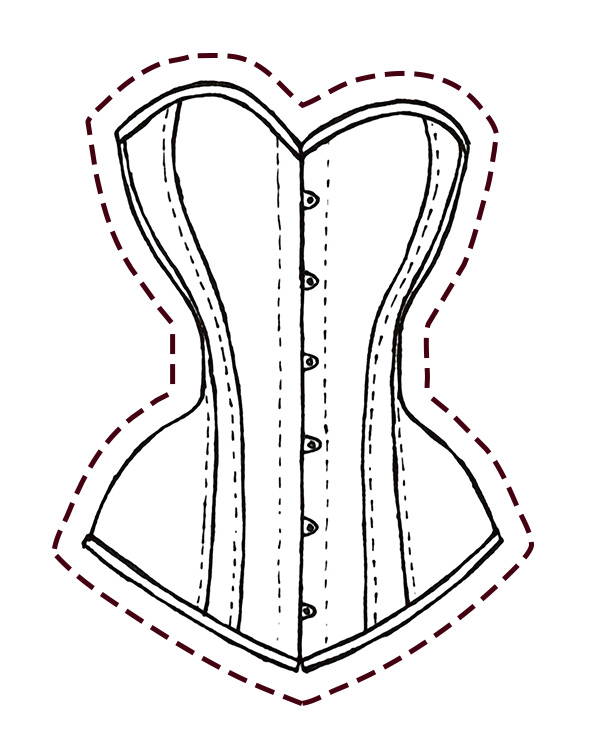
The shape below is called a pipe-stem corset, and it is only worn by serious waist trainers.  It looks rather painful to me – so I’ve never tried it!


A Pipestem Corset
A Pipestem Corset

And those are the primary shapes of corsets that you’ll see when shopping today.  I’ve drawn them in overbust, since that’s my personal preference – but all of these shapes come in underbust styles too.  If you are looking at patterns – you’ll also see historical corset shapes.  Women wore some form of corset for several centuries, so there were a ton of different styles throughout history!  If you want to learn more about historical corset shapes, I wrote a post about it previously in this series.

Coming next week – Corsets 101 Part 6: Sizing

Corsets 101 Part 4: Anatomy of a Corset

I was surprised when I started working on this post – and came up with 18 different terms to explain to you!  Corsets are a rather complex art – so to explain them well, it helps to dissect them into their parts – and define each one.  In this part, we’ll cover everything that goes into making a corset, as well all the terminology you need to become a corset afficionado.

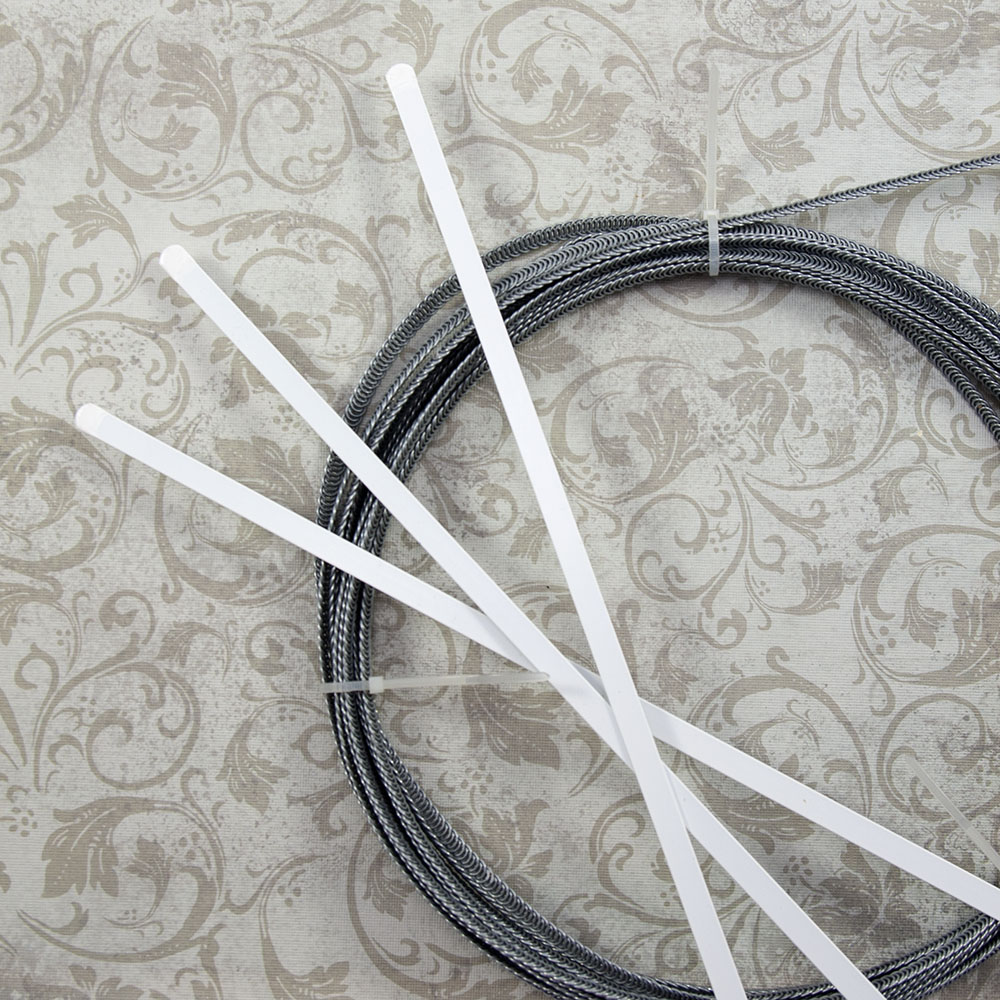
We’ll start with the boning.  In most corsets, there is one steel bone along each seam, plus four in the back with the grommets.  The jury is still out on this – but in my opinion, the nicest corsets have spiral steel bones over the bust and all around the sides.  Sometimes you see them with flat steel – and some people prefer flat steel (saying it gives more support).  Spiral steel bones are extremely flexible (while still being strong as steel) and they mold to your form without digging in.  For me at least, the sensation of straight steel bones digging into my rib cage is extremely uncomfortable!  So I use spiral steel for my corsets.  The bones in the back beside the grommets, however, should be made from flat steel.  They will keep the edges of your corset straight as you lace up into it.
Steel boning
Spiral and flat steel boning.  I have spiral steel boning in long rolls because I use it in my evil queen collars!

The diagram at left shows how the bones are placed in most corsets.  This is called a “Single Steel Boned Corset”.  But some corsets are double steel boned – meaning they have two spiral steel bones along each seam in place of one.  To my knowledge, all double steel boned corsets are made with spiral steel.  With two bones along each seam, you need that moldability!  Waist training corsets are usually double steel boned, since they are extremely durable when made that way.

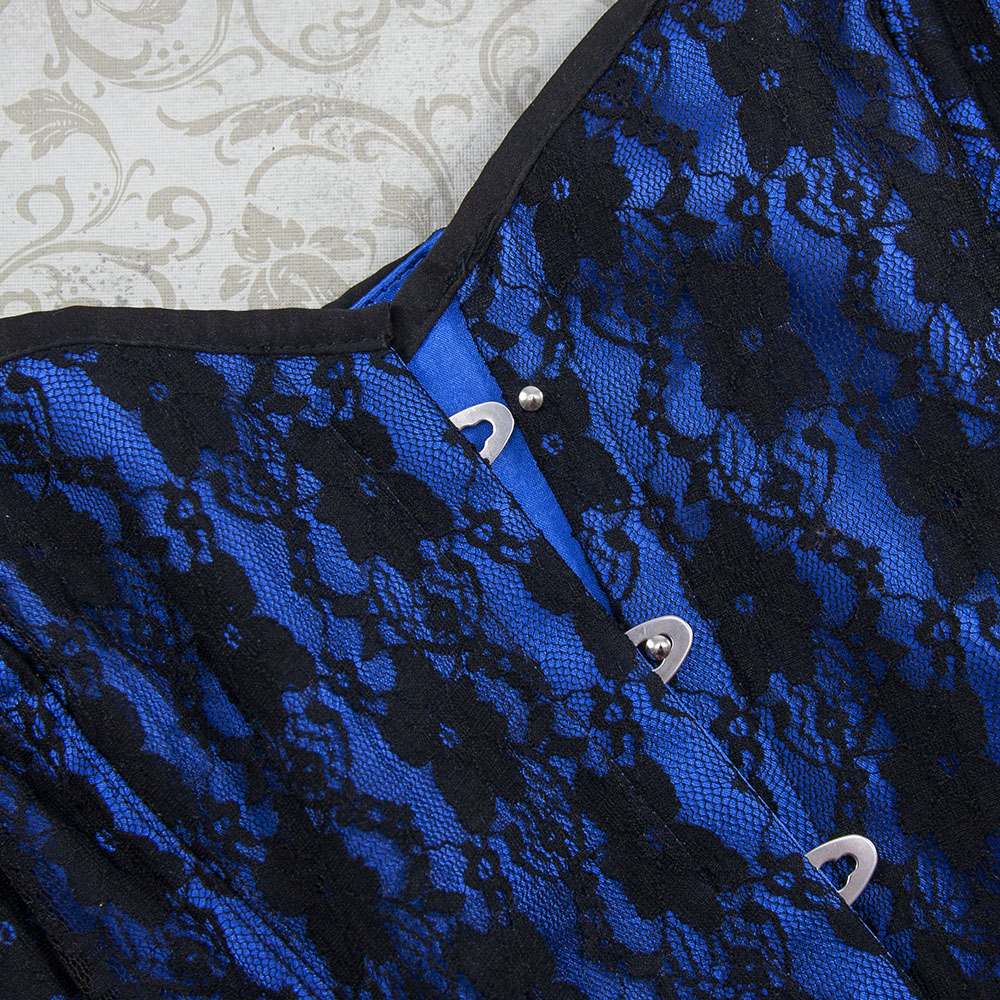
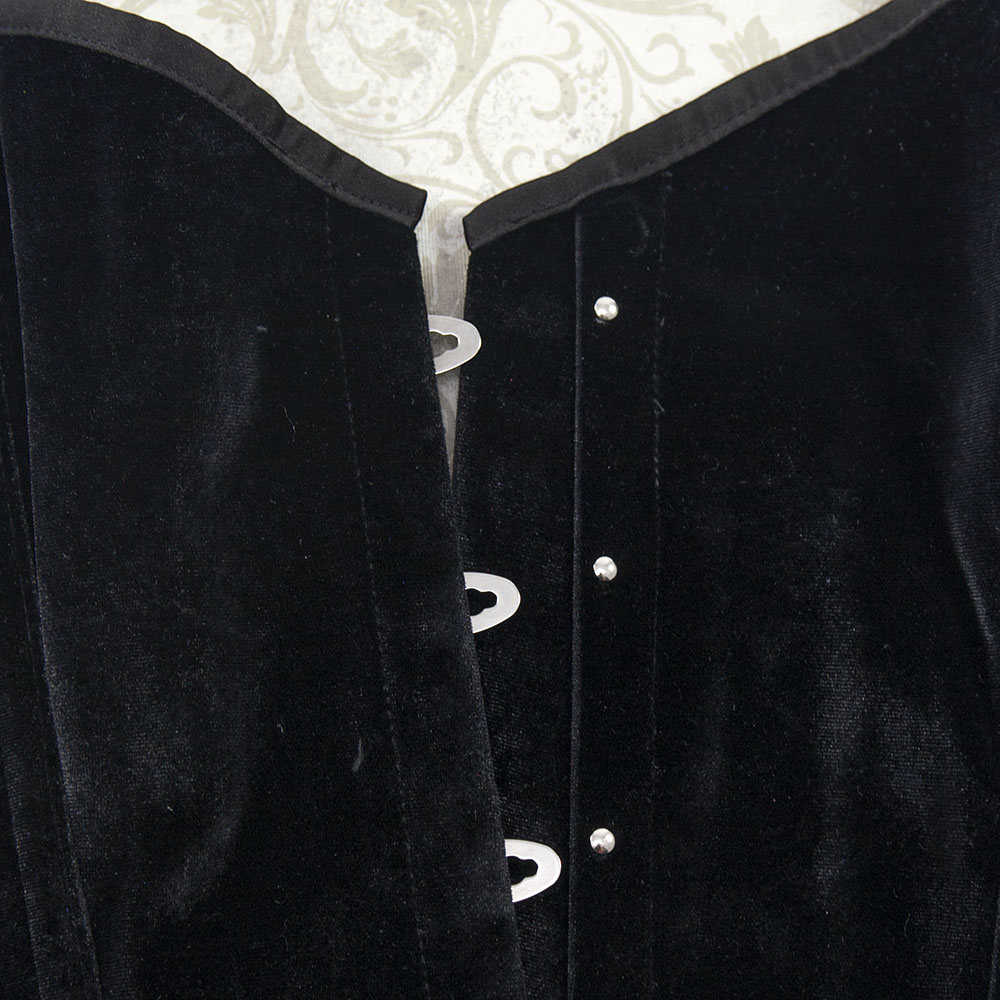
In the front of most corsets, you have a busk, with hooks all the way down.  In some corsets, you instead have swing latches (or box clasps).  You see swing clasp closures very often in Steampunk corsets.

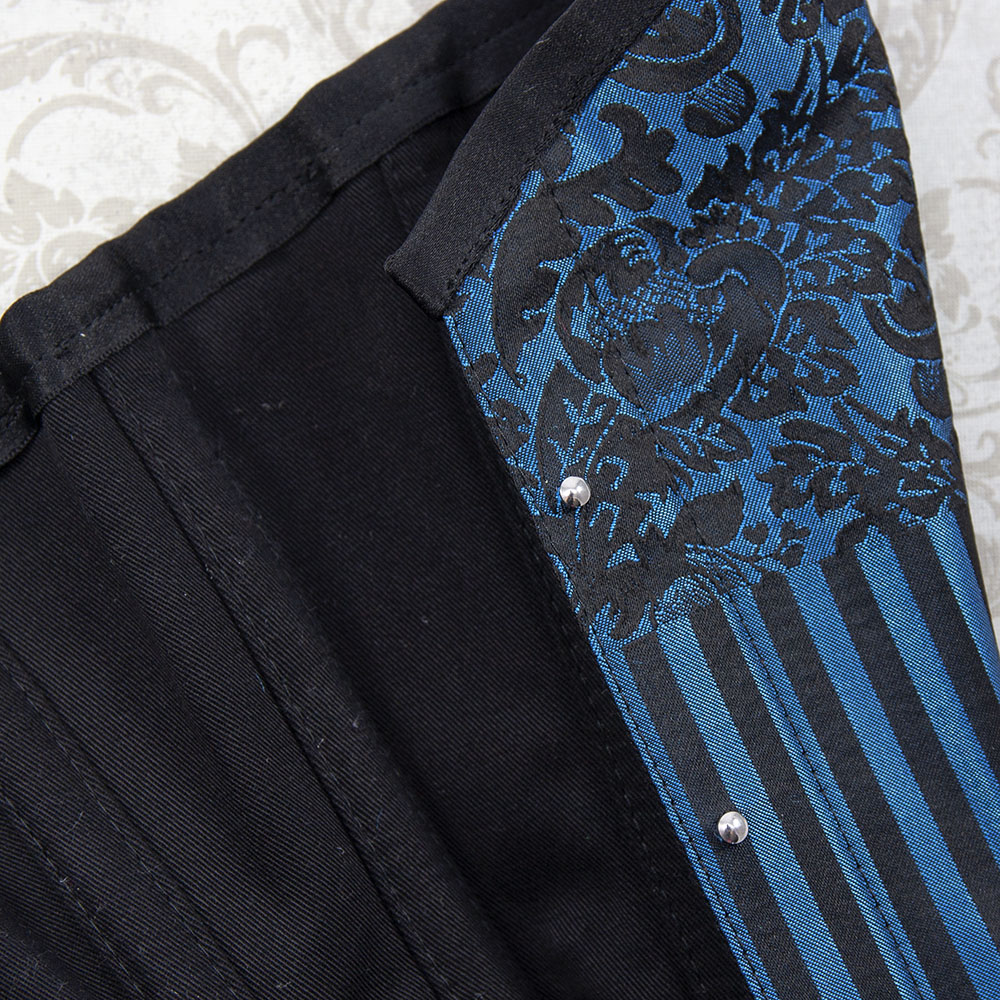
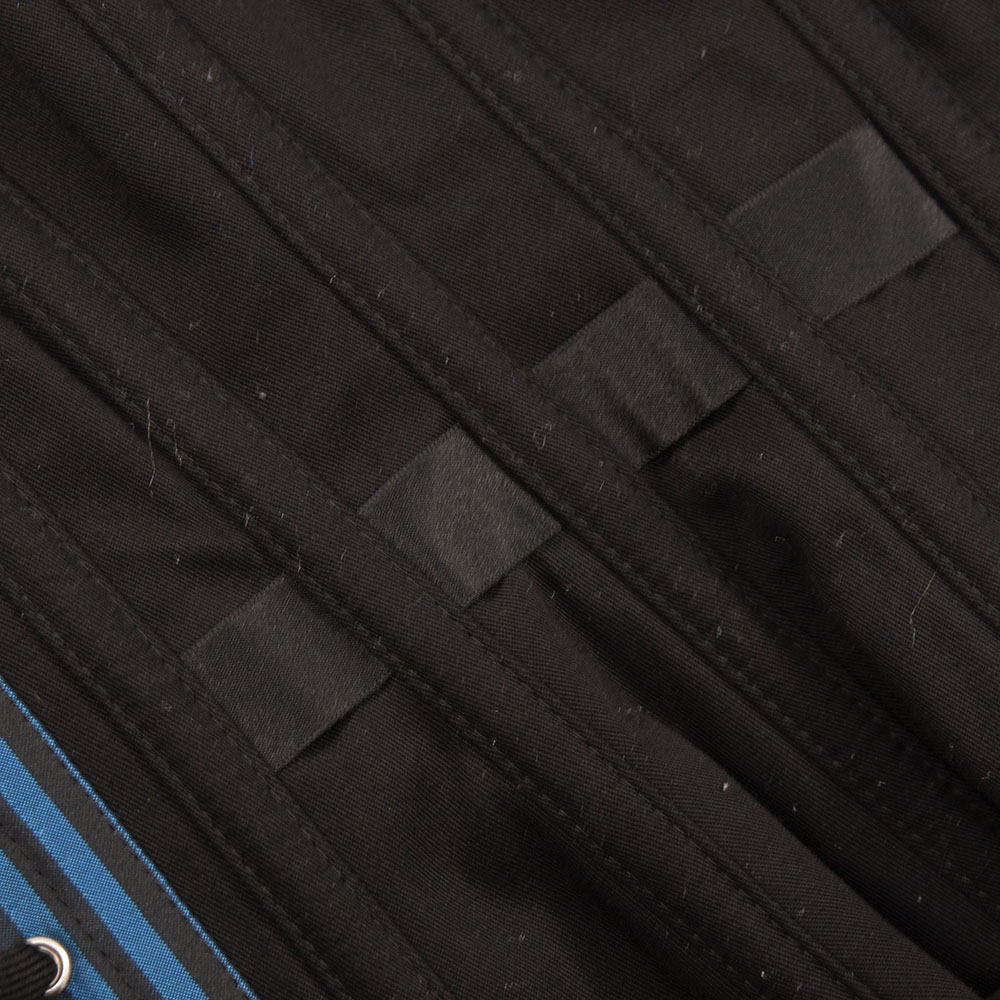
Corsets are made of two fabrics fused together.  The outer fabric is called the “Fashion Fabric” and the inner fabric is called the “Strength Layer”.  The fashion fabric will usually be something pretty – and the strength layer will be a nice thick coutil or cotton twill.  There are boning channels sewn to the back of the corset, and the boning is inserted inside.

Corset Fabrics
This corset has a two-tone blue brocade fashion fabric, and a cotton twill strength layer. The boning channels (seen on the inside) are also made of cotton twill.

Some corsets have reverse boning channels, which are made from a contrasting fabric and sewn to the outside instead of the inside.  This makes a really cool decorative effect.

Reverse Boning Channels
My stripe corset has reverse boning channels.

Some corsets have waist tapes.  The waist tape reinforces the waist and keeps it from stretching.  I chose to leave the waist tape out of my hourglass corsets, because I find that the corset has a smoother shape without it.  I make these really pretty dress jackets, patterned to curve perfectly with the shape of my hourglass corsets.  The smooth shape in the waist looks nicer with my jackets, so that’s what I did!  But if you have bought a high quality corset elsewhere, you will likely see a waist tape on the inside.

Waist Tape
A waist tape.

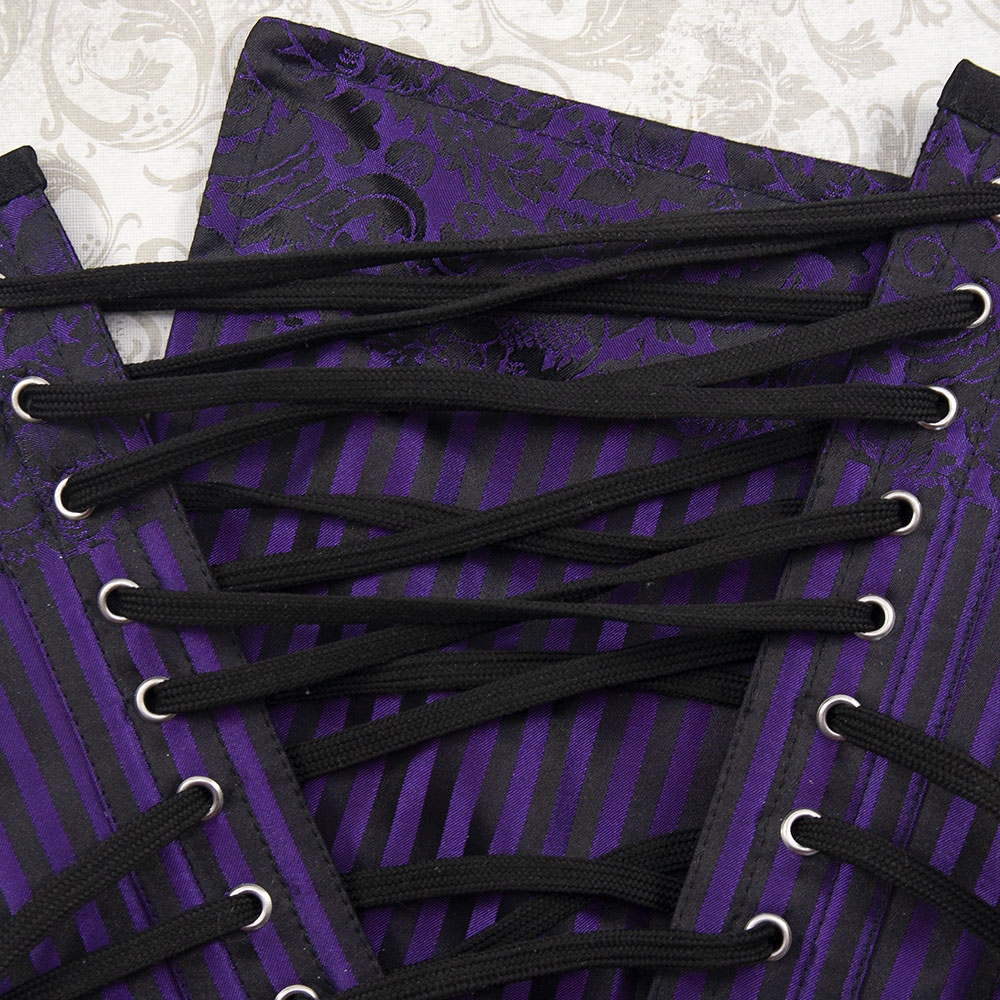
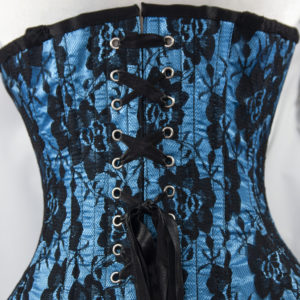
In the back, between the two flat steel bones, are grommets.  (photos coming soon!  Lol, I forgot to mention the grommets when I originally wrote this post, so I’m now adding them in way after the fact.)  What are grommets?  They are the metal pieces that protect the lacing holes from getting wallered out over time.  You may think of them as “eyelets” – but eyelets are one piece.  The front looks the same as a grommet, but in the back, eyelets have what looks like metal flower petals that spread out around the lacing hole.  If you’ve bought a corset from a new maker, you might find eyelets instead of grommets.  Grommets are two part.  There is a front piece that curves around the back piece, and if set properly, both the back and the front is 100% smooth.  The flower petal-ed back of an eyelet will cause lacing to fray over time, so for a long lasting corset, grommets are necessary.

In back under the lacing, your corset should have a modesty panel.  This protects your back while lacing up, and covers up the crease you’ll have in your back after laced into the corset.

Modesty Panel
This corset’s modesty panel matches its fashion fabric.

More rarely, corsets will also have a modesty placket in front, to protect your stomach while hooking the busk, and cover the tiny space that can happen in front.  My hourglass corsets have this piece.  I accidentally hooked stomach skin into a busk on a corset once.  (Holy friggin ouch!)  Let me tell you, that experience will make you insist upon always having a modesty placket in the future!

Modesty Placket
Get a corset with a modesty placket if you can. The skin on your stomach will thank you!

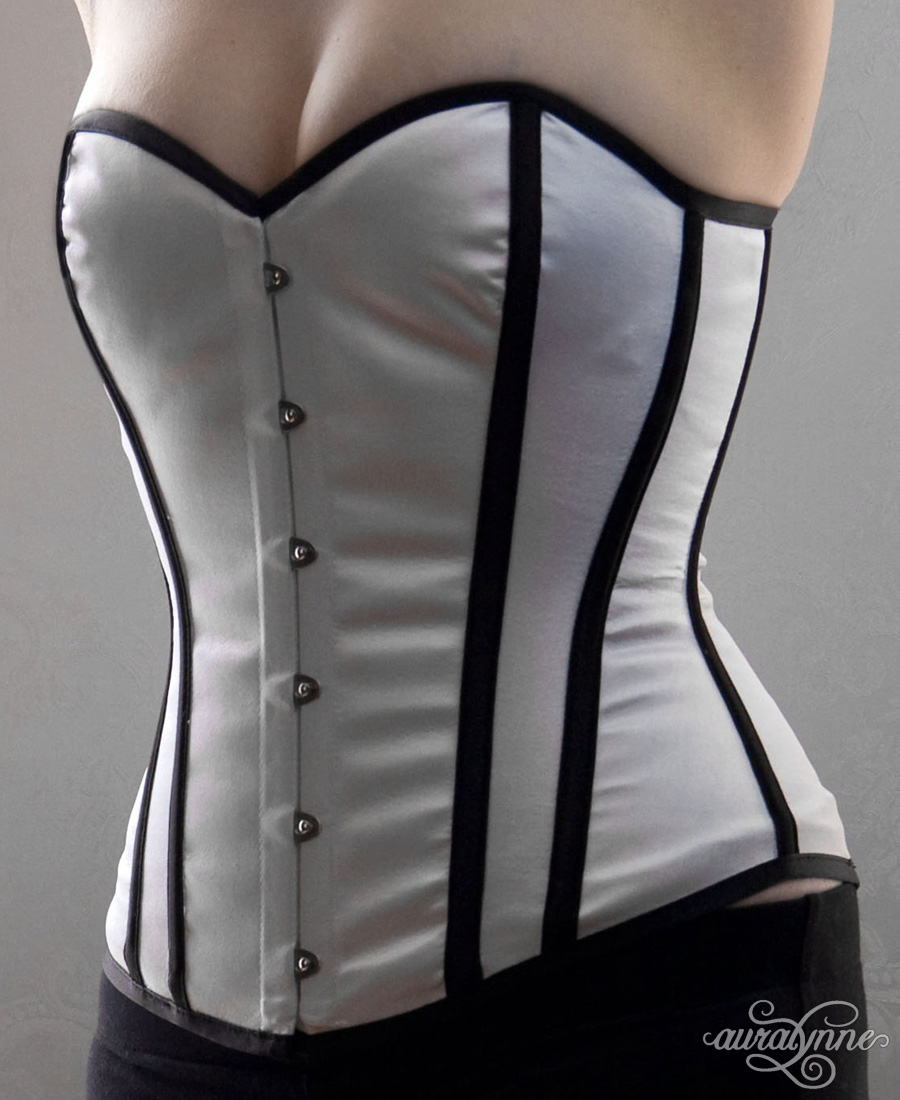
The trim at top and bottom of the corset is called binding.  It’s often made from the fashion fabric, or sometimes it’s made of contrasting fabric for a cool look.
Corset Binding
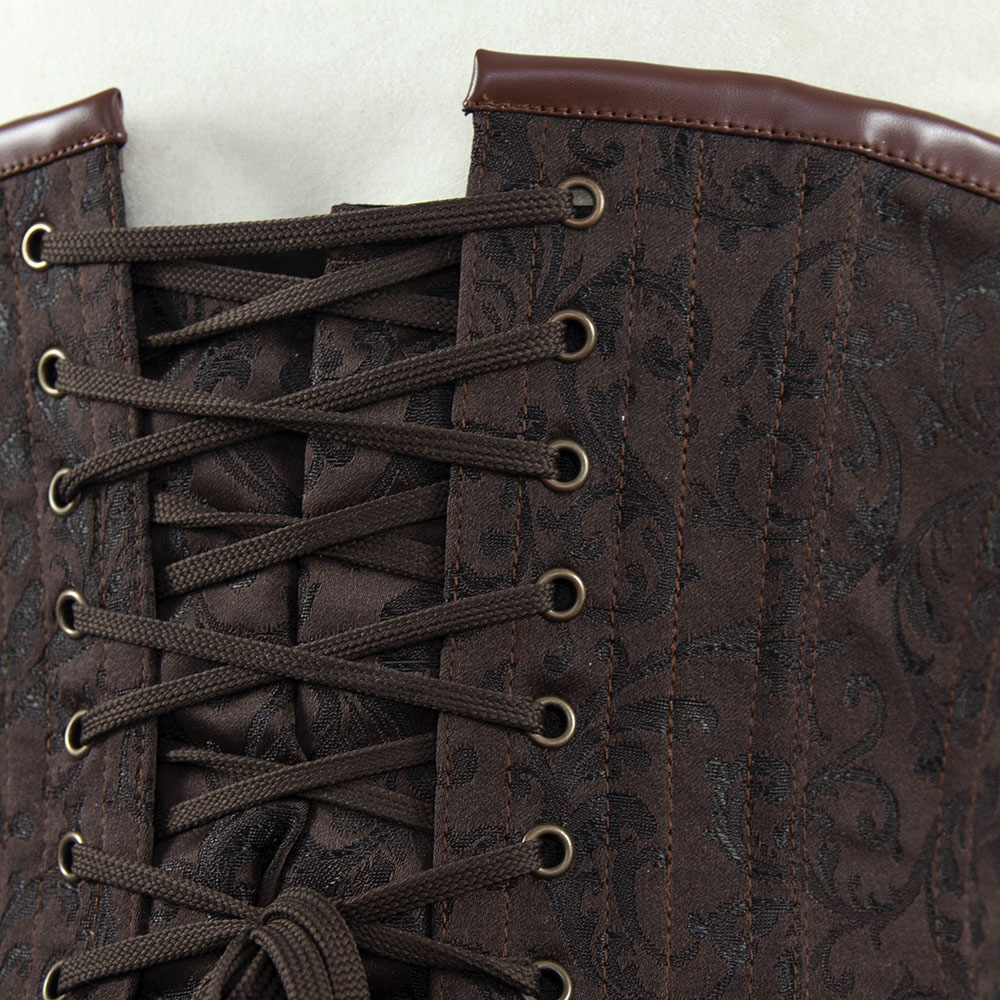
This corset has faux leather binding in a brighter shade of brown than the fabric, which provides a nice accent.

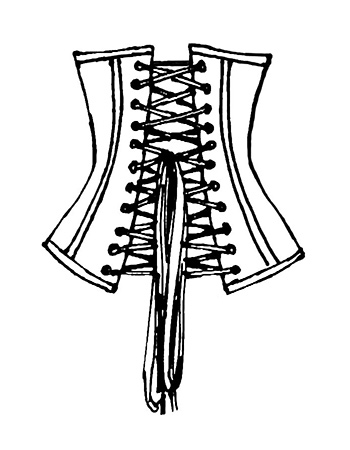
The lacing in back is extra long, so you can loosen the corset to a very wide gap in back to put it on.  It’s laced so that there are bunny ears on either side at the waist – so they are easy to pull to tighten the corset.

Lacing in a steel boned corset

That’s all the parts to a corset.  Was it a bit more complex than you thought it would be?  Coming next week, Corsets 101 part 5 – Pattern Matters

Made-To-Order Information Am I out of your size, or do you need a size other than what's listed? If you catch me at the right time, I offer this item made-to-order! It's not available made-to-order right now, but enter your email below, and I'll reach out to you when it is: